 |
 |
 |
 |
 |
 |
 |
All
images and content © 2015
D. Canaan |
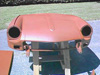
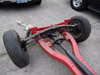
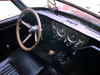
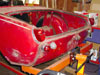
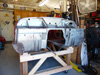
LOG BOOK: OLDER ENTRIES PRIOR TO 12-02-15 2-16-16: PAINT! The frame is now painted! Woo! Primed with self etching primer, then sprayed with a sealer, and finally with Signal Red Sherwin Williams Dimension paint. I haven't sprayed with HVLP or these new urethane paints before and it is interesting. Far more forgiving than what I used to spray back in the day. The paint is incredily sticky, but I think that helps with runs and drips. I know the overspray was still a problem in the garage, but drop cloths helped with most of that. My shoes are another story. Good thing those were junky old ones. I guess those pants will join them in being garage clothing now. End result: Shiny pretty red frame! 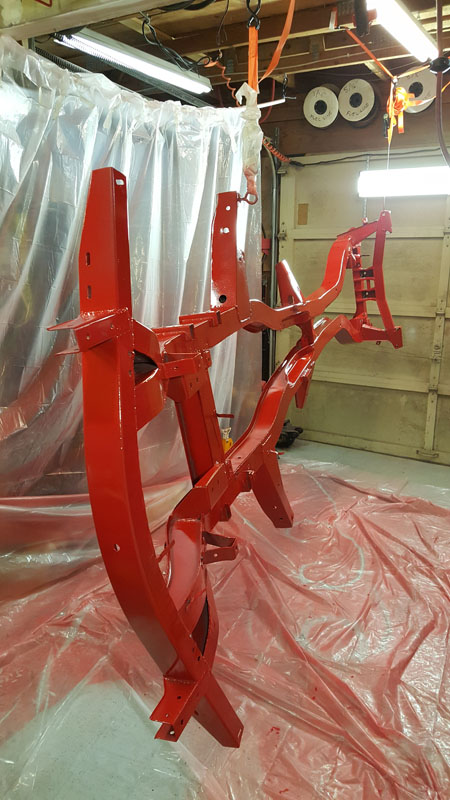 2-11-16: SO MUCH DONE It has been a very busy time since the body tub was declared done. I took the body off the rotisserie and put it back on the body tub cart. A spare body tub picked up used in a purchase was given to another Spitfire owner that needed it. I didn't charge since I got a ton of parts for a song and didn't need this tub. Best to pass the deal on to the next person. The body tub was then wrapped in plastic pallette wrap, sealed with tarps and is ready for paint when that stage is reached. The boot lid needed work. A used boot lid was obtained and it needed to be stripped to bare metal. A good sized ding in the lid had to be massaged out along with some oil canning of stretched metal. Using a torch, I was able to shrink the metal and return the lid back to proper shape. The doors had to be checked. I had previously worked on them, but this time I went over them very closely and found some fatigue cracks in corners, plus a driver side door mirror would be changed and had to have the mounting hole welded in. A few hours took care of restoring the doors back to good condition. The bonnet needed work as well. The nose had been in a damage before and back when I worked on it originally, I just filled in the dent and called it good. I didn't have the skill set back then, but I do now, so I stripped the nose of all the filler I put in, plus found other repairs done from collision damage I didn't know about. Hammer and dolly work took care of the nose and the side corner. It's now all fixed up and only skim coat was needed to address any slight distortions. Nothing more than 1/16th of an inch. It's not perfect on the corner, but the bad bits will be hidden by the bumper so, yeah. Looks like the bumper mounting hole got torn by the impact and that had to be cut out and welded back to correct shape and a new hole drilled. The chassis was taken out of storage and the engine/trans pulled the same day the bonnet was finished. Next day I was able to strip everything off the chassis in 3 hours. I have to strip all the paint off the chassis and get it ready for paint. The paint picked up is single stage urethane enamel from Sherwin Williams. A 2K urethane primer surfacer will ensure the Signal Red paint adheres correctly and that's what is needed here. Back then I painted it with spray bombs that were close to Signal Red, but even though I had primed it, it didn't stick and was flaking badly. So time to take it to bare metal and start over. A three day weekend may make it possible to get this done and start the reassembly process. So much to do! PARTS! A ton of parts were ordered. $1600 in parts. Molded carpet kit, dash board knobs, lights, licenes plate lamp, turn signals, major seal kit, suspension bushings, brake kit, etc. Just tons of stuff. I think there wil lbe probably $2500 in parts eventually at this rate, but I figure it's worth fixing stuff as I come across it. 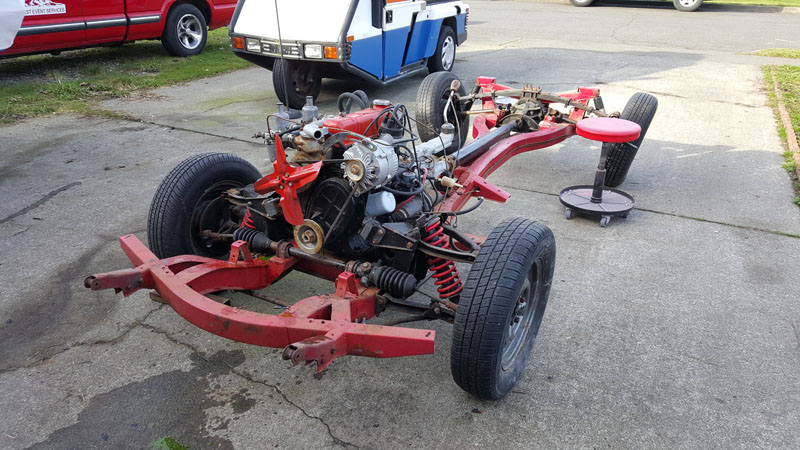 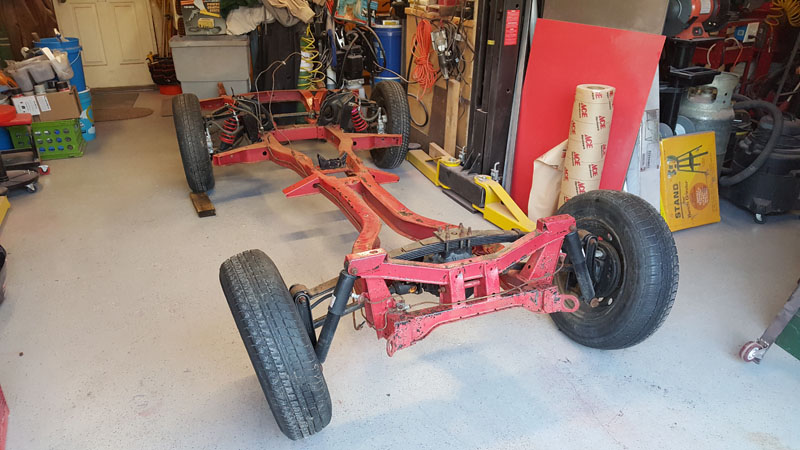  1-4-16: BODY TUB COMPLETED That's it, folks. I cleaned and painted the last bits of the body tub. I cut the tail light holes, license plate mounting holes, license plate lamp mounts and welded in the trunk/boot reinforcement plate. All of the areas were painted and sealed. This is a milestone in this restoration and a very big checkbox to fill out. Next up are the bonnet, boot lid, and doors. All of these except the boot lid had been stripped down and primed 15 years ago when this project got stalled out, so it's mostly a case of stripping them back down and checking my prior work. The bonnet nose needs works and my skill set is better now than it was, so I think I can do a better job of it. I kept the old rear valence and used it to make paper templates to locate the holes on the new valence on the car. 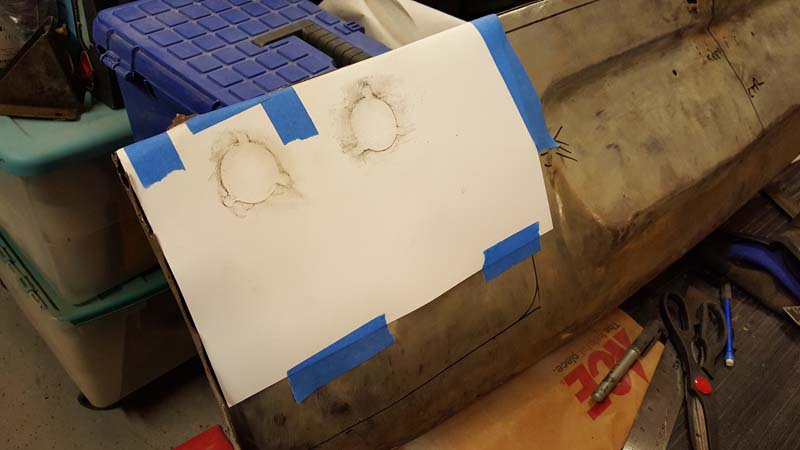 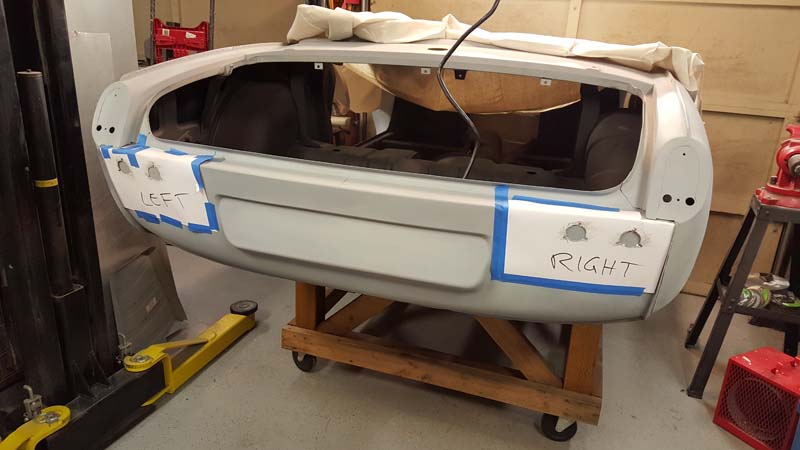 Used a metal shear punch to cut the holes. Nice perfect circles in sheet metal with very little effort. Very accurate. 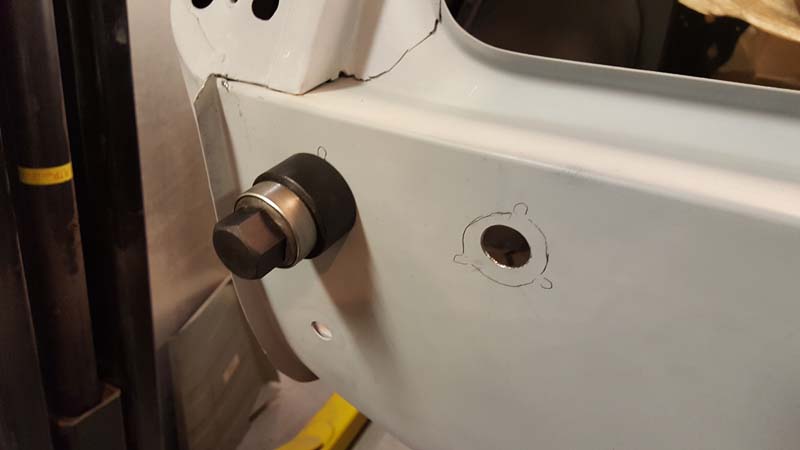 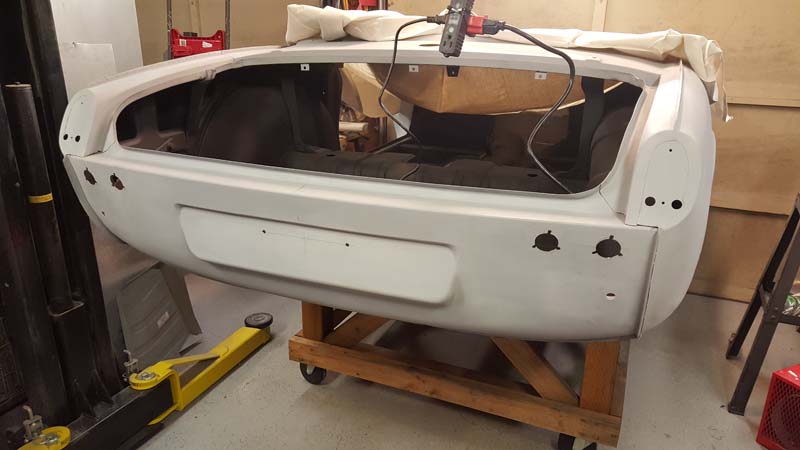 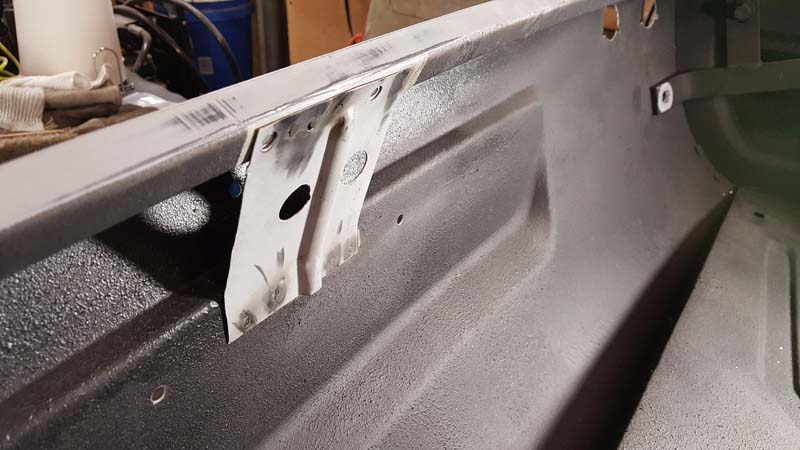 12-29-15: Both lower side sills are now replaced. What looked like fairly solid metal on the driver side looked worse when a wire brush in a drill exposed more rust pitting and holes which required the bottom 3" or so of the sill to be replaced. I had the patch panel, so cutting it out and replacing it with new metal wasn't unrealistic. Having just completed the passenger side successfully, I was in good shape to tackle it. I even fabricated my own patch for the lower panel in front of the rear wheel. With the use of a slip roller and shear, making a panel was pretty easy. Now I am down to hitting areas with spot glazing putty for any minor defects, grind a few welds I didn't like, and will need to weld in the trunk lock support on the rear valance. That, and cut tail light holes in the rear valance. After that, this body tub is DONE and I can start work on the chassis. 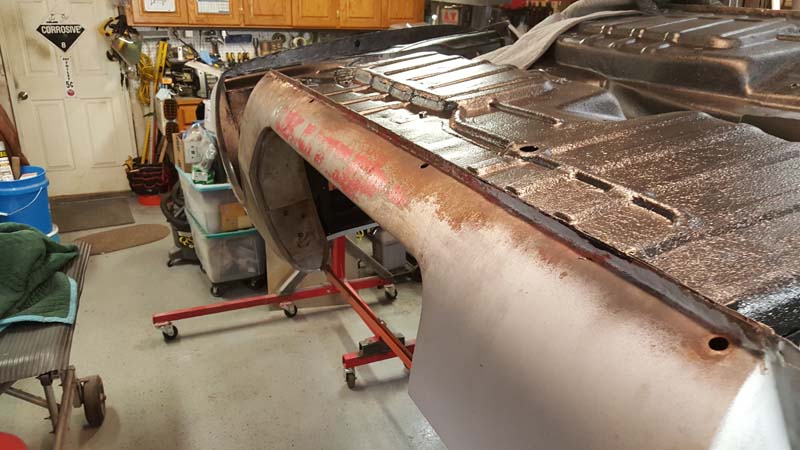 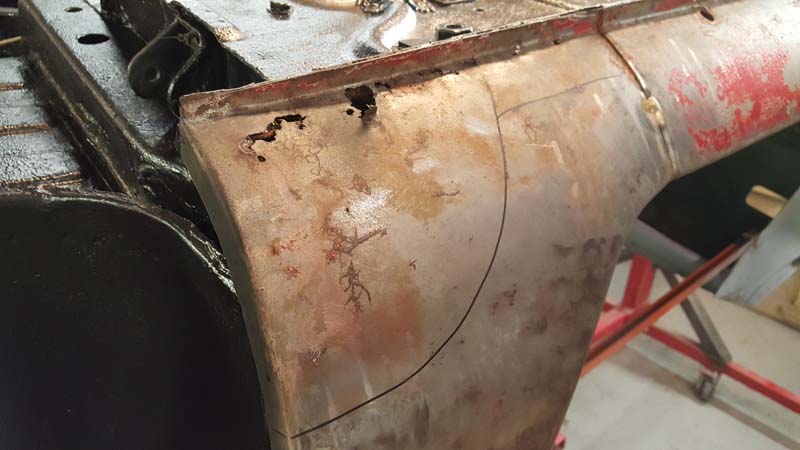 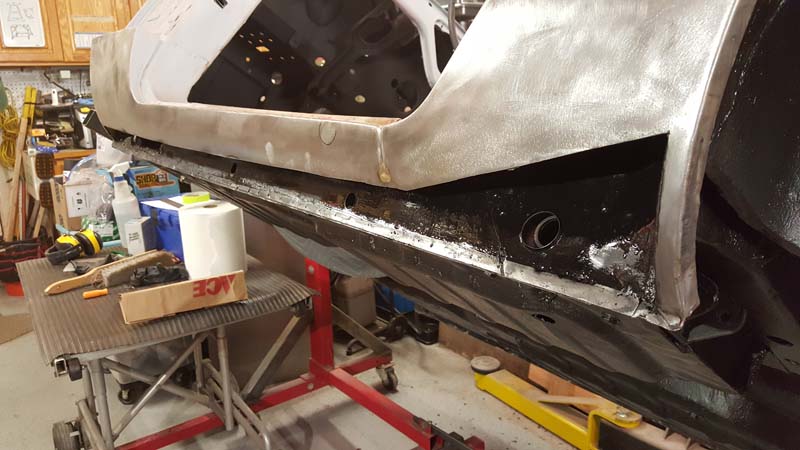 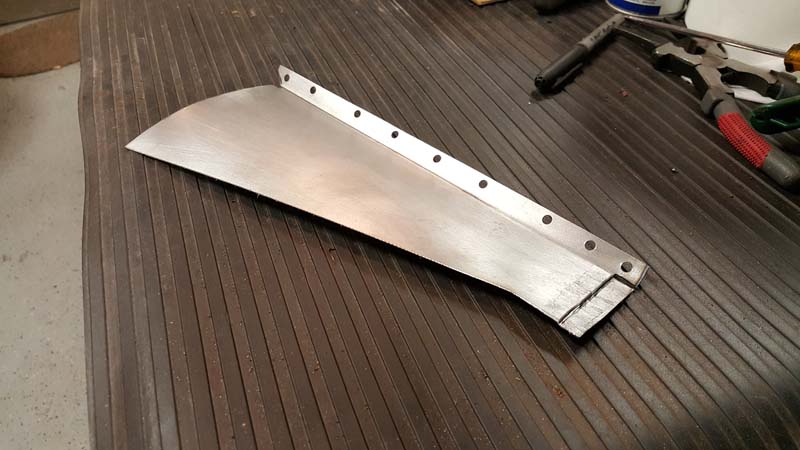 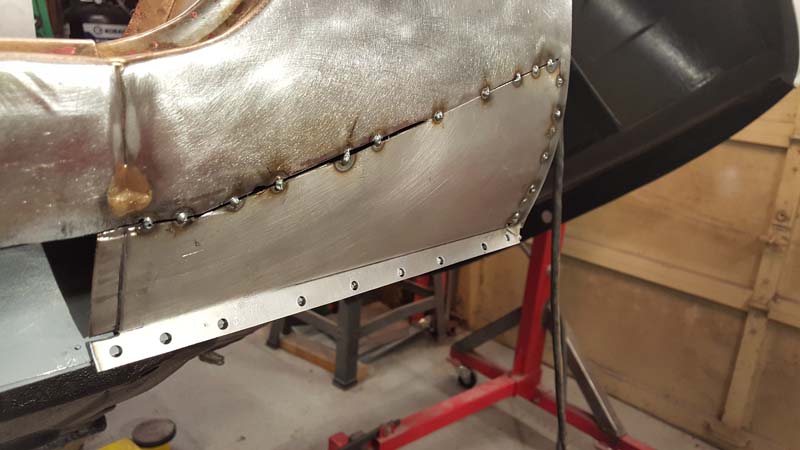 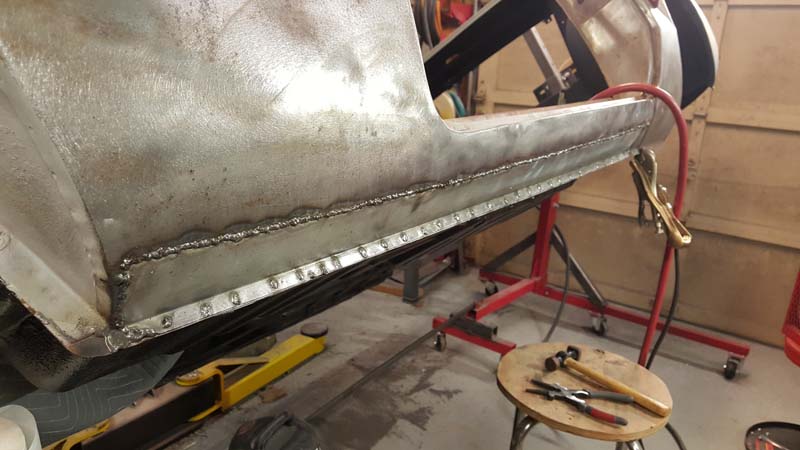 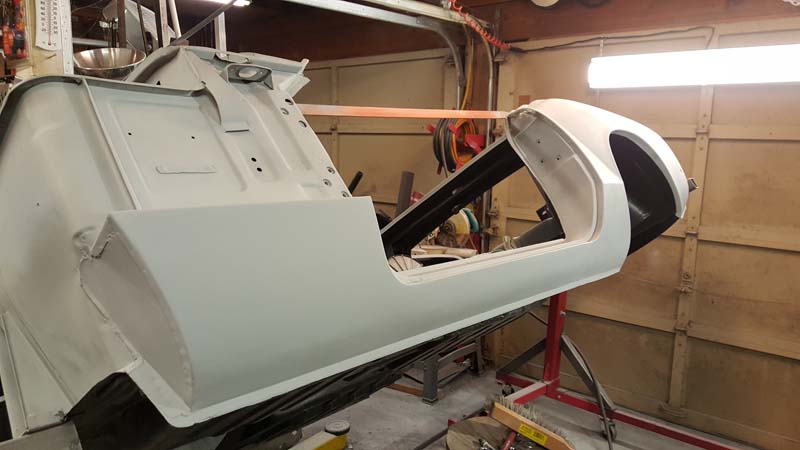 |
|||||