 |
 |
 |
 |
 |
 |
 |
MyVisits Counter All images and content © 2015
D. Canaan |
WELCOME!
This
is the story of FD 23167, a 1968 Triumph Spitfire, aka
"Giles" and the adventures in bringing this car back from the dead.
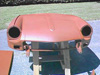
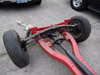
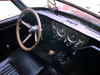
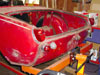
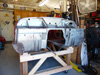
CURRENT TASK: 2-16-16: CHASSIS PAINTED I had to clean the chassis to bare metal with wire wheels in grinders, but 3-4 hours later and I bare chassis. Several coats of self itching primer, then sealer primer, and then Signal Red paint applied with an HVLP gun and the new compressor dryer setup resulted in shiny red beautiful single stage urethane paint from Sherwin Williams. It's cured now and ready to start putting things back onto the chassis for the final time. 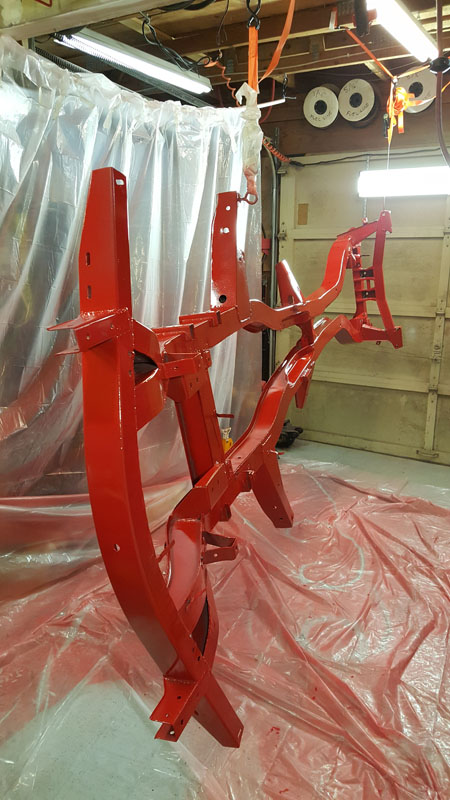 2-11-16: Been busy busy busy! Too busy to post. Doors, bonnet, boot lid- all are prepped and ready for paint. All bodywork is DONE! Now working on the chassis and I hope to shooting paint for the chassis shortly. Then we start putting things back together. WOO! You know where to go to see the updates.  1-5-16: BODY TUB COMPLETE! The body tub is now 100% complete. I've touched every surface and reconditioned everythting. Rust is gone, metal repaired or replaced, everything sealed, treated, primed. This is a premium body tub now in better shape than it was when new for it has better protection than it did then. The Log Book has the updates, as usual. 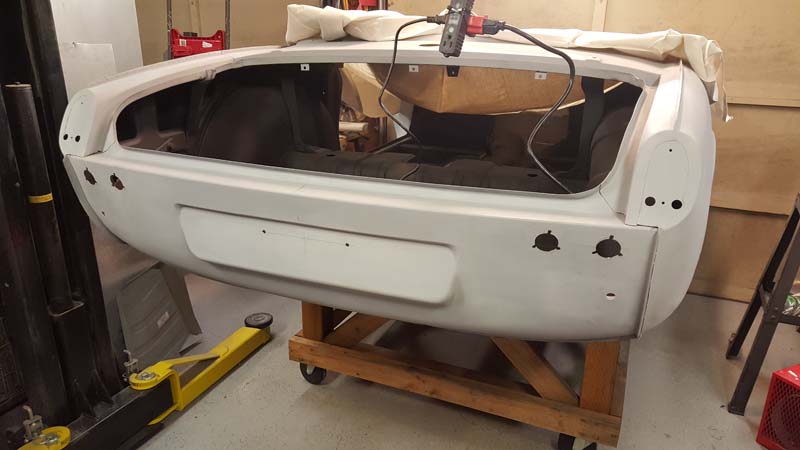 12-29-15: Driver side sill repairs and replacements completed. All rust has been removed and the tub is getting closer to being ready for paint. It sure feels better not seeing rust, damaged metal, and old paint around. Everything is shiny metal, primer, or undercoating. Now it feels like a project that can succeed. If you want to see the progress, go check out the Log Book. 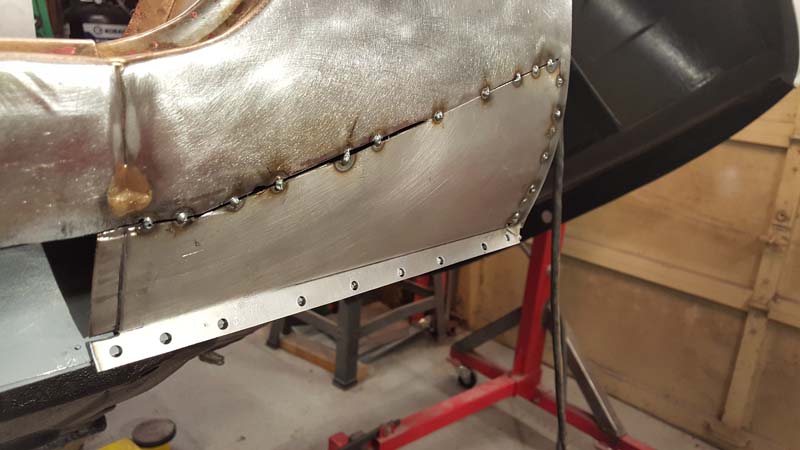 12-02-15: Passenger side side sill repair is now complete! The log book has photos of the rust removal and new sheet metal replacement. 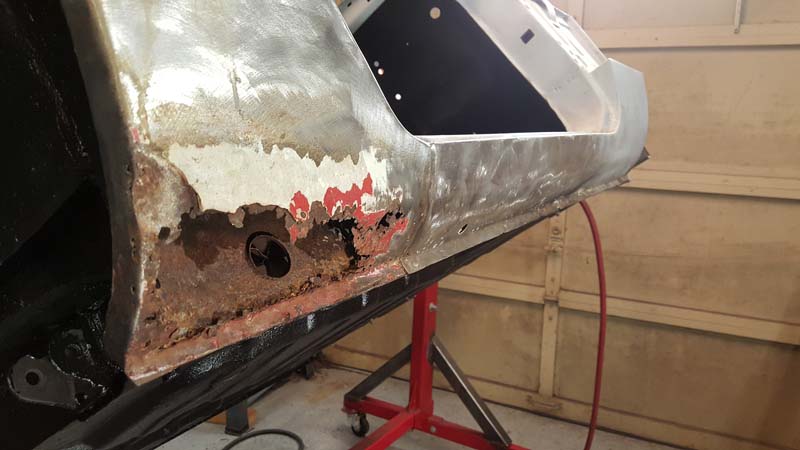 11-15-15: Been busy! The floors are now 100% completed. The body tub is solid with only the sills to patch up. That's simple metal work and I can handle that myself. All the floors are coated top and bottom in bed liner and should be water and rust proof for many years to come. See the log book for the progress photos. 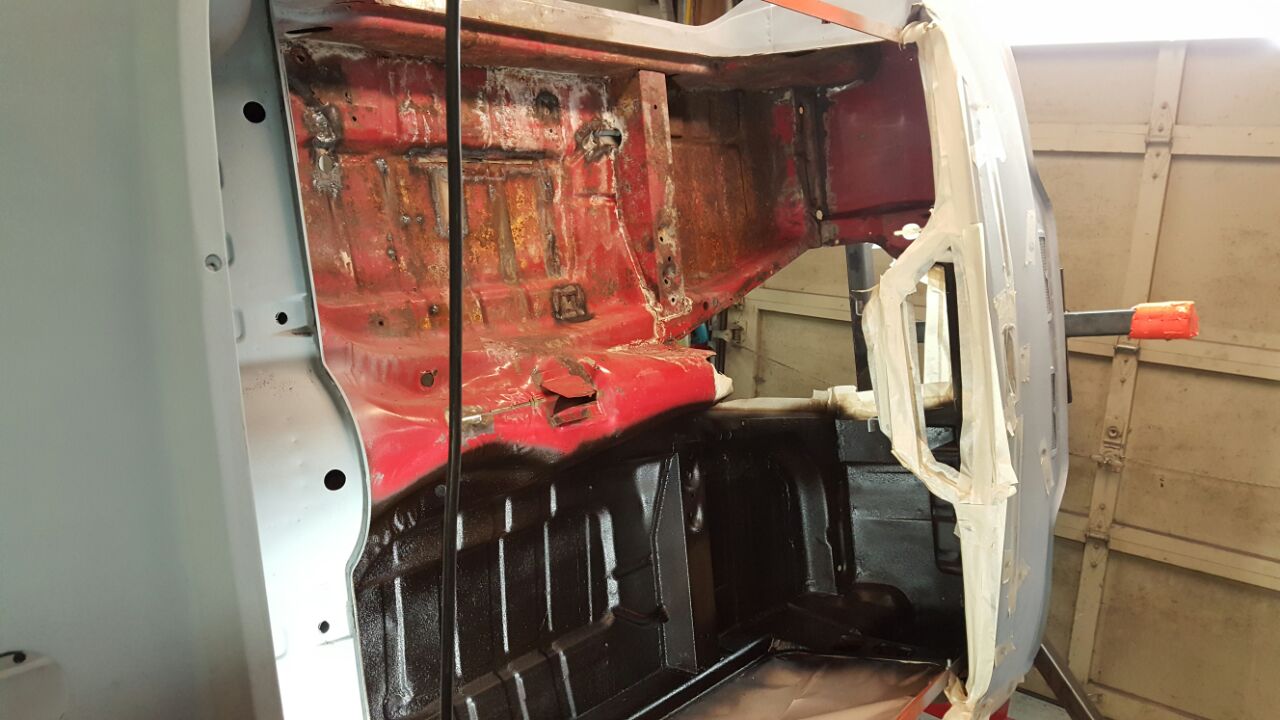 11-10-15: Rust Be Gone! Lots of cutting, welding, grinding, and fabrication, but the rust is GONE. Check the Log Book for photos and progress. 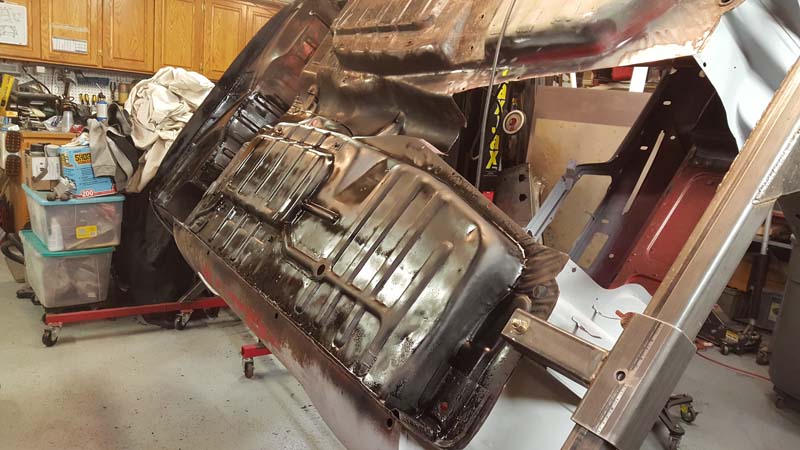 11-1-15: Totally floored. Started the floor pan replacement process with the front passenger side removed and replaced. Turned out to be easier than expected and I actually look forward to doing the driver side next. 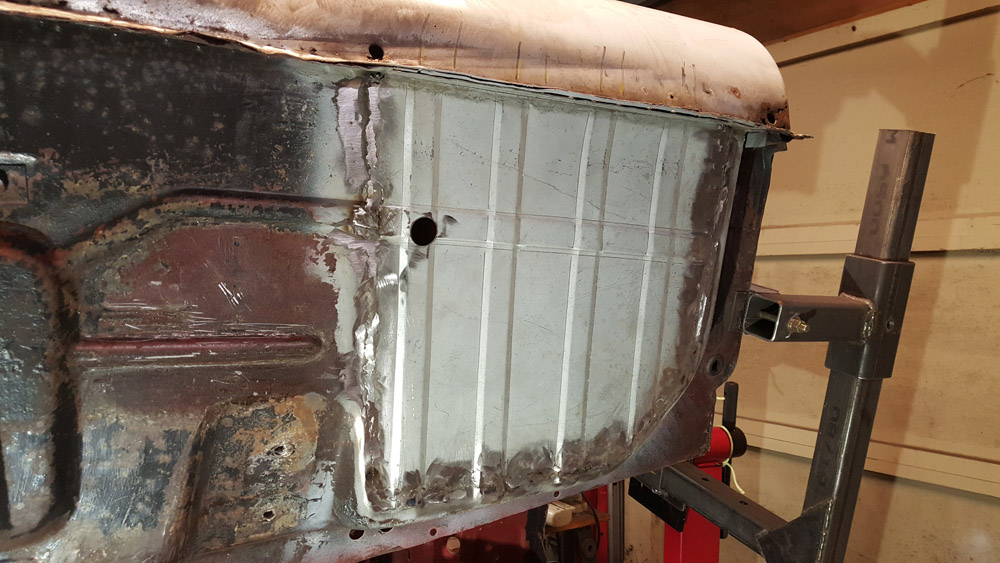 10-27-15: Spin baby, spin! Got the body mounted on a rotisserie to continue work. Addressing the underbody and interior next. Log book has the details. 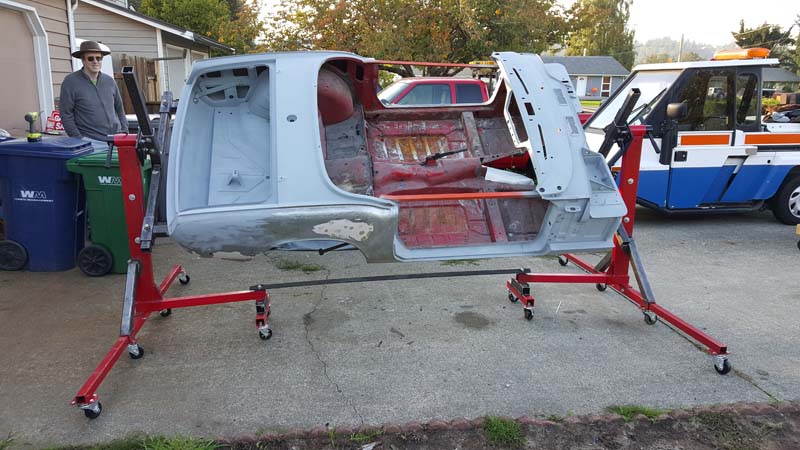 10-11-15 Rear valence / trunk is 95% done. A bit of glazing putty and I can cross that off my list. I decided to cut out the entire rear valence and replace it entirely instead of continuing with patches being added. I'm very pleased with the results. See the process in the Log Book. 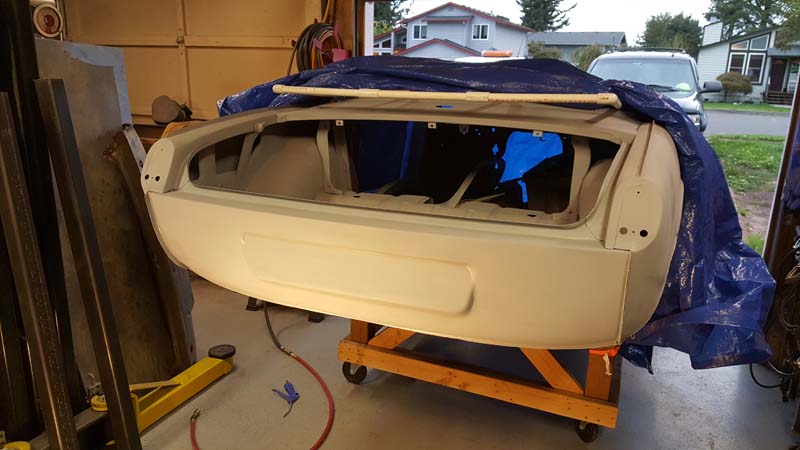 9-21-15 Nobody is using the comment box to the right yet. I wonder if this site is being seen? It's going to continue regardless because it's important to document these things, if only to inspire others to rescue and restore these LBC's. Rear Valnce repairs started. Sorting out how to approach repair / replacement of the rear valence. I got started with a bit of rusted out metal around the latch mounts. Tge Log Book has the process. 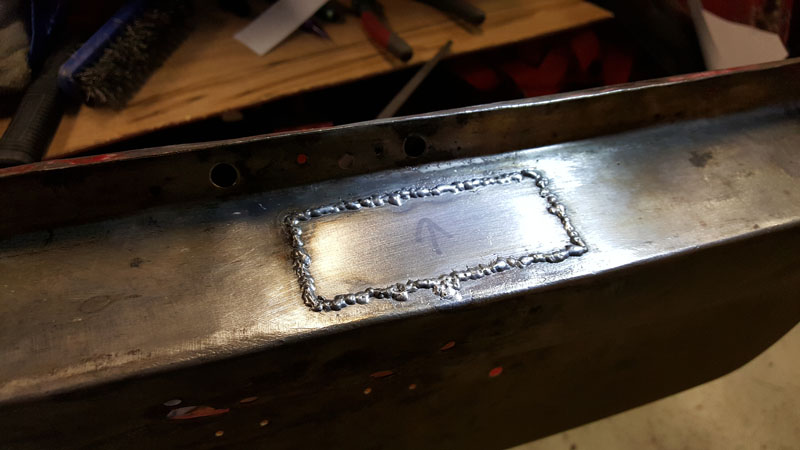 9-7-15 Windshield frame has rust, as does the cowl above the dash where it mounts. Heavily rusted holes need attention and new sheet metal welded in. The Log Book has details. 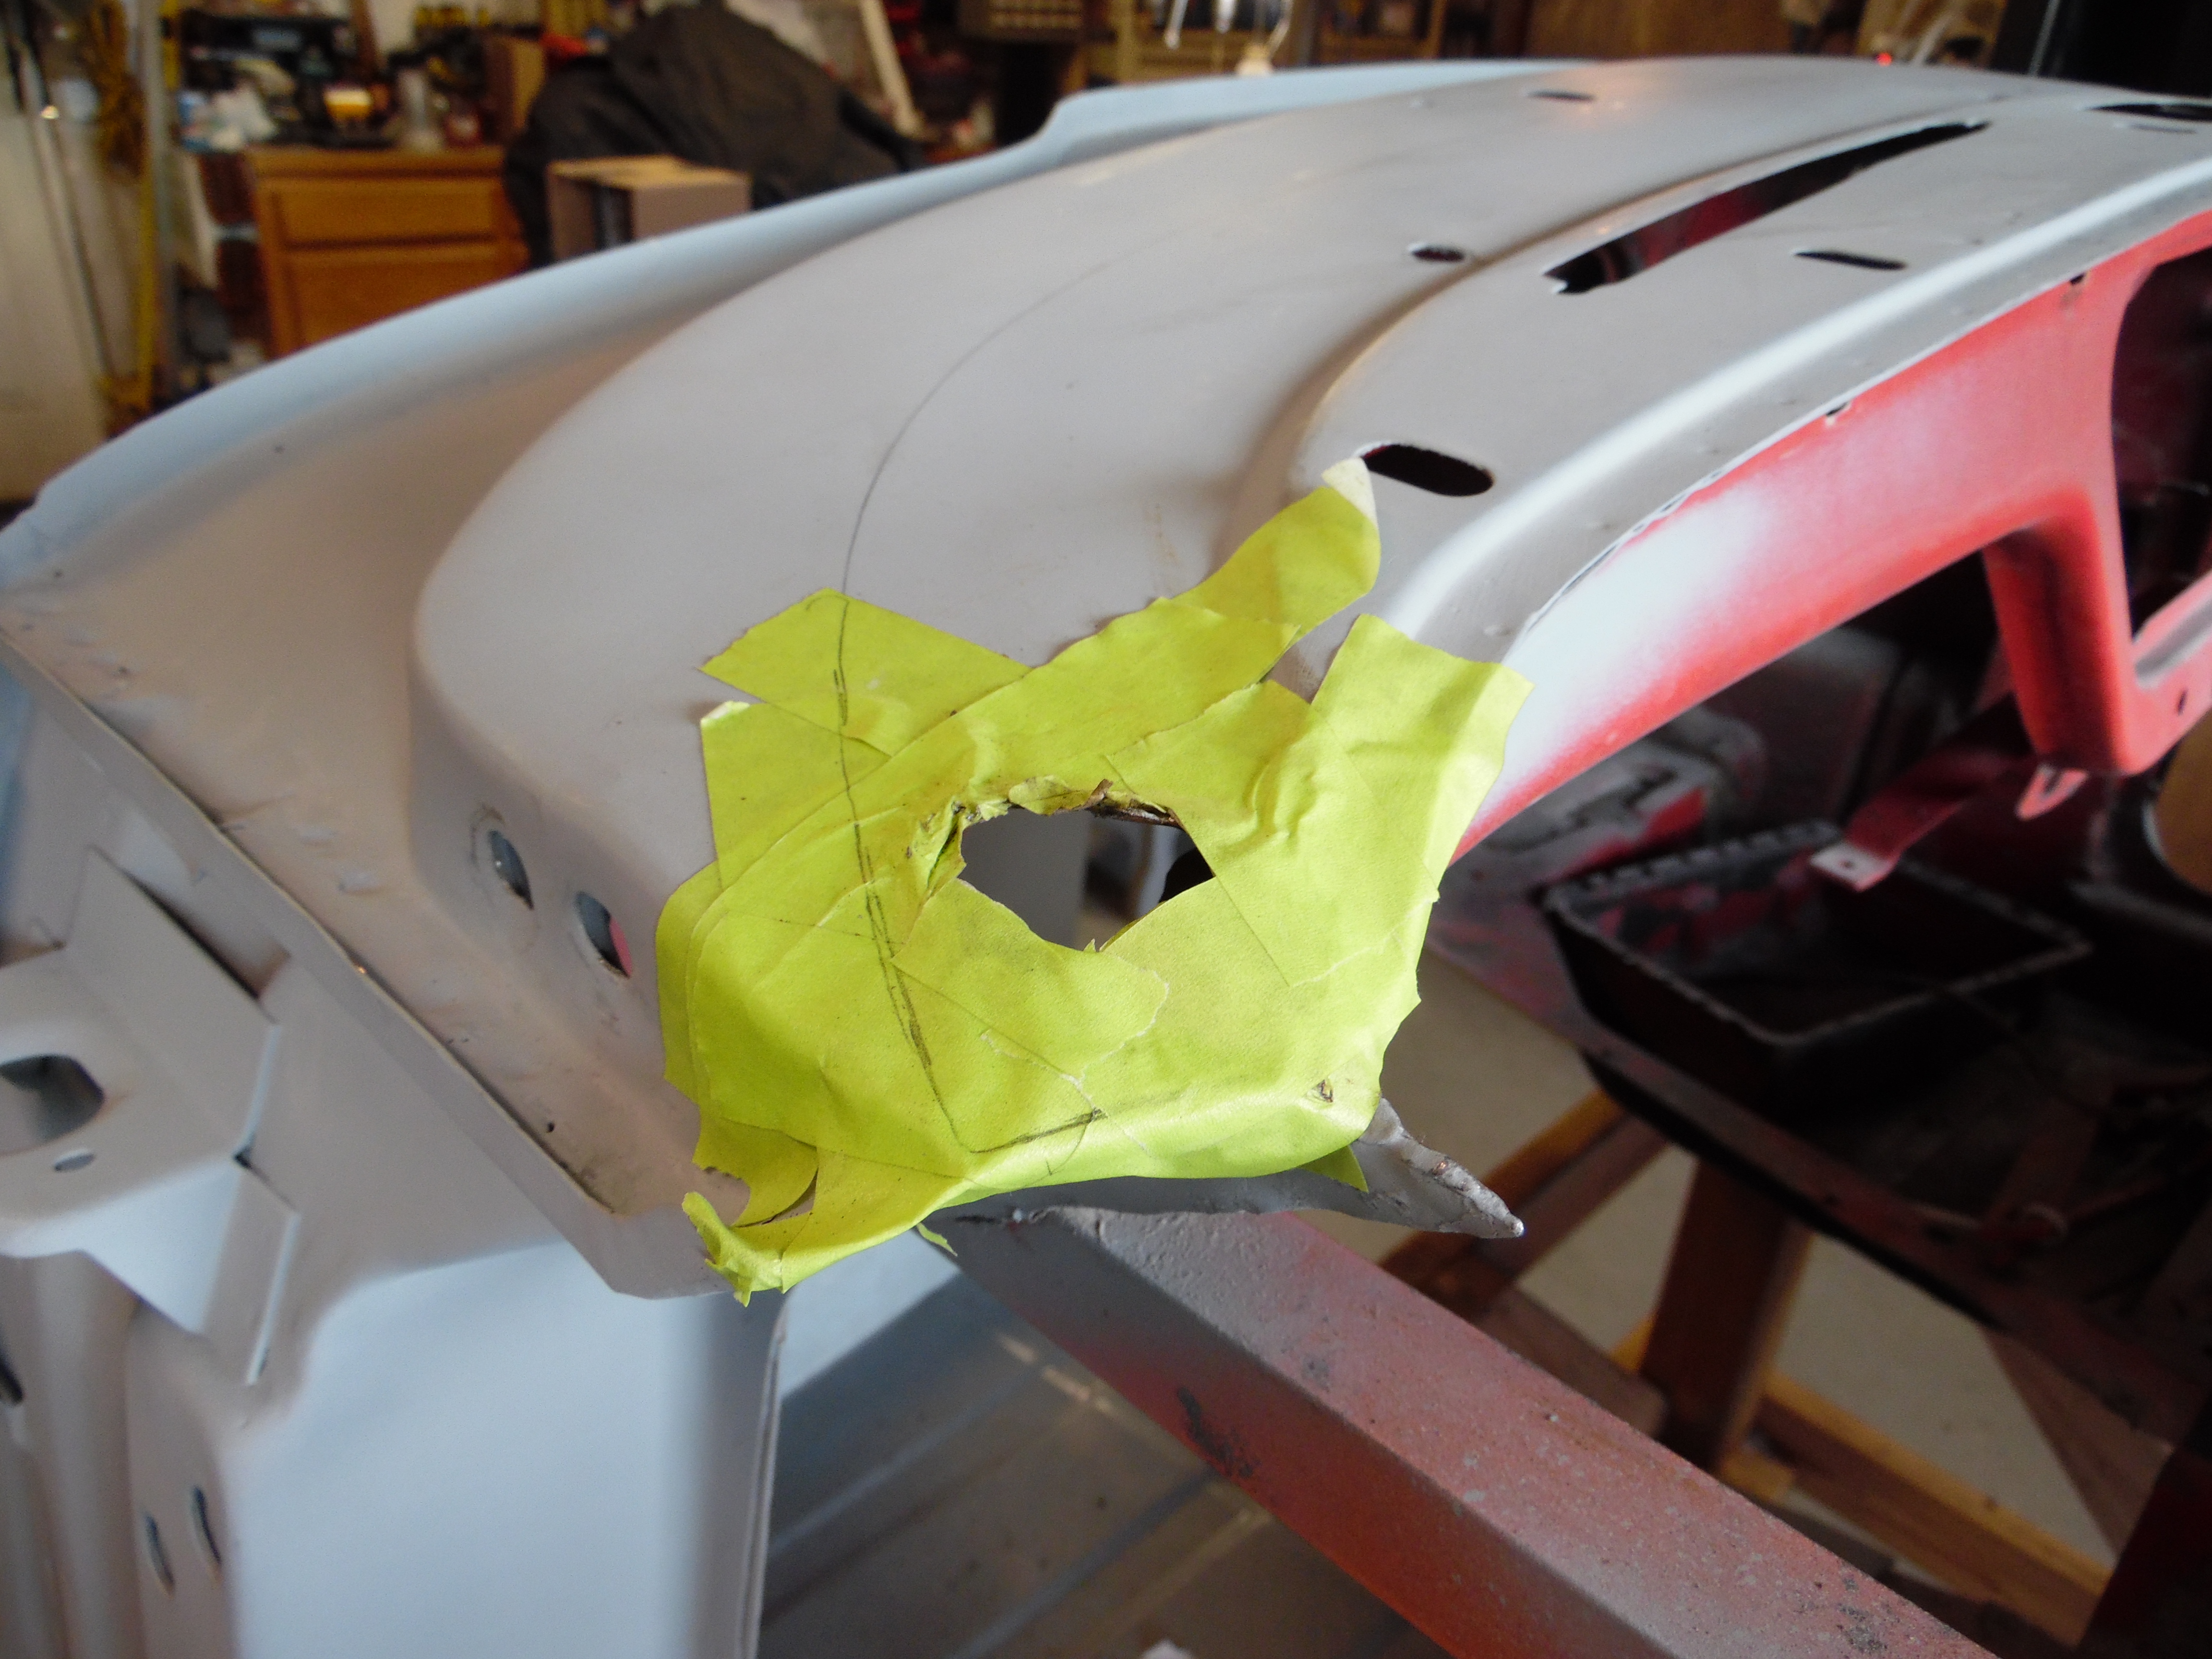 Windshield Frame Firewall Progress: 9-7-15 Replaced the rusted out gutter/drain of the windshield cowl on the driver side. It had rusted out and some of the metal was missing requiring a new patch to be made, cut, trimmed, and welded in place. It's a real kick to be able to replace missing metal like this. No parts are available for this area, so being able to fabricate your own is a real source of confidence. 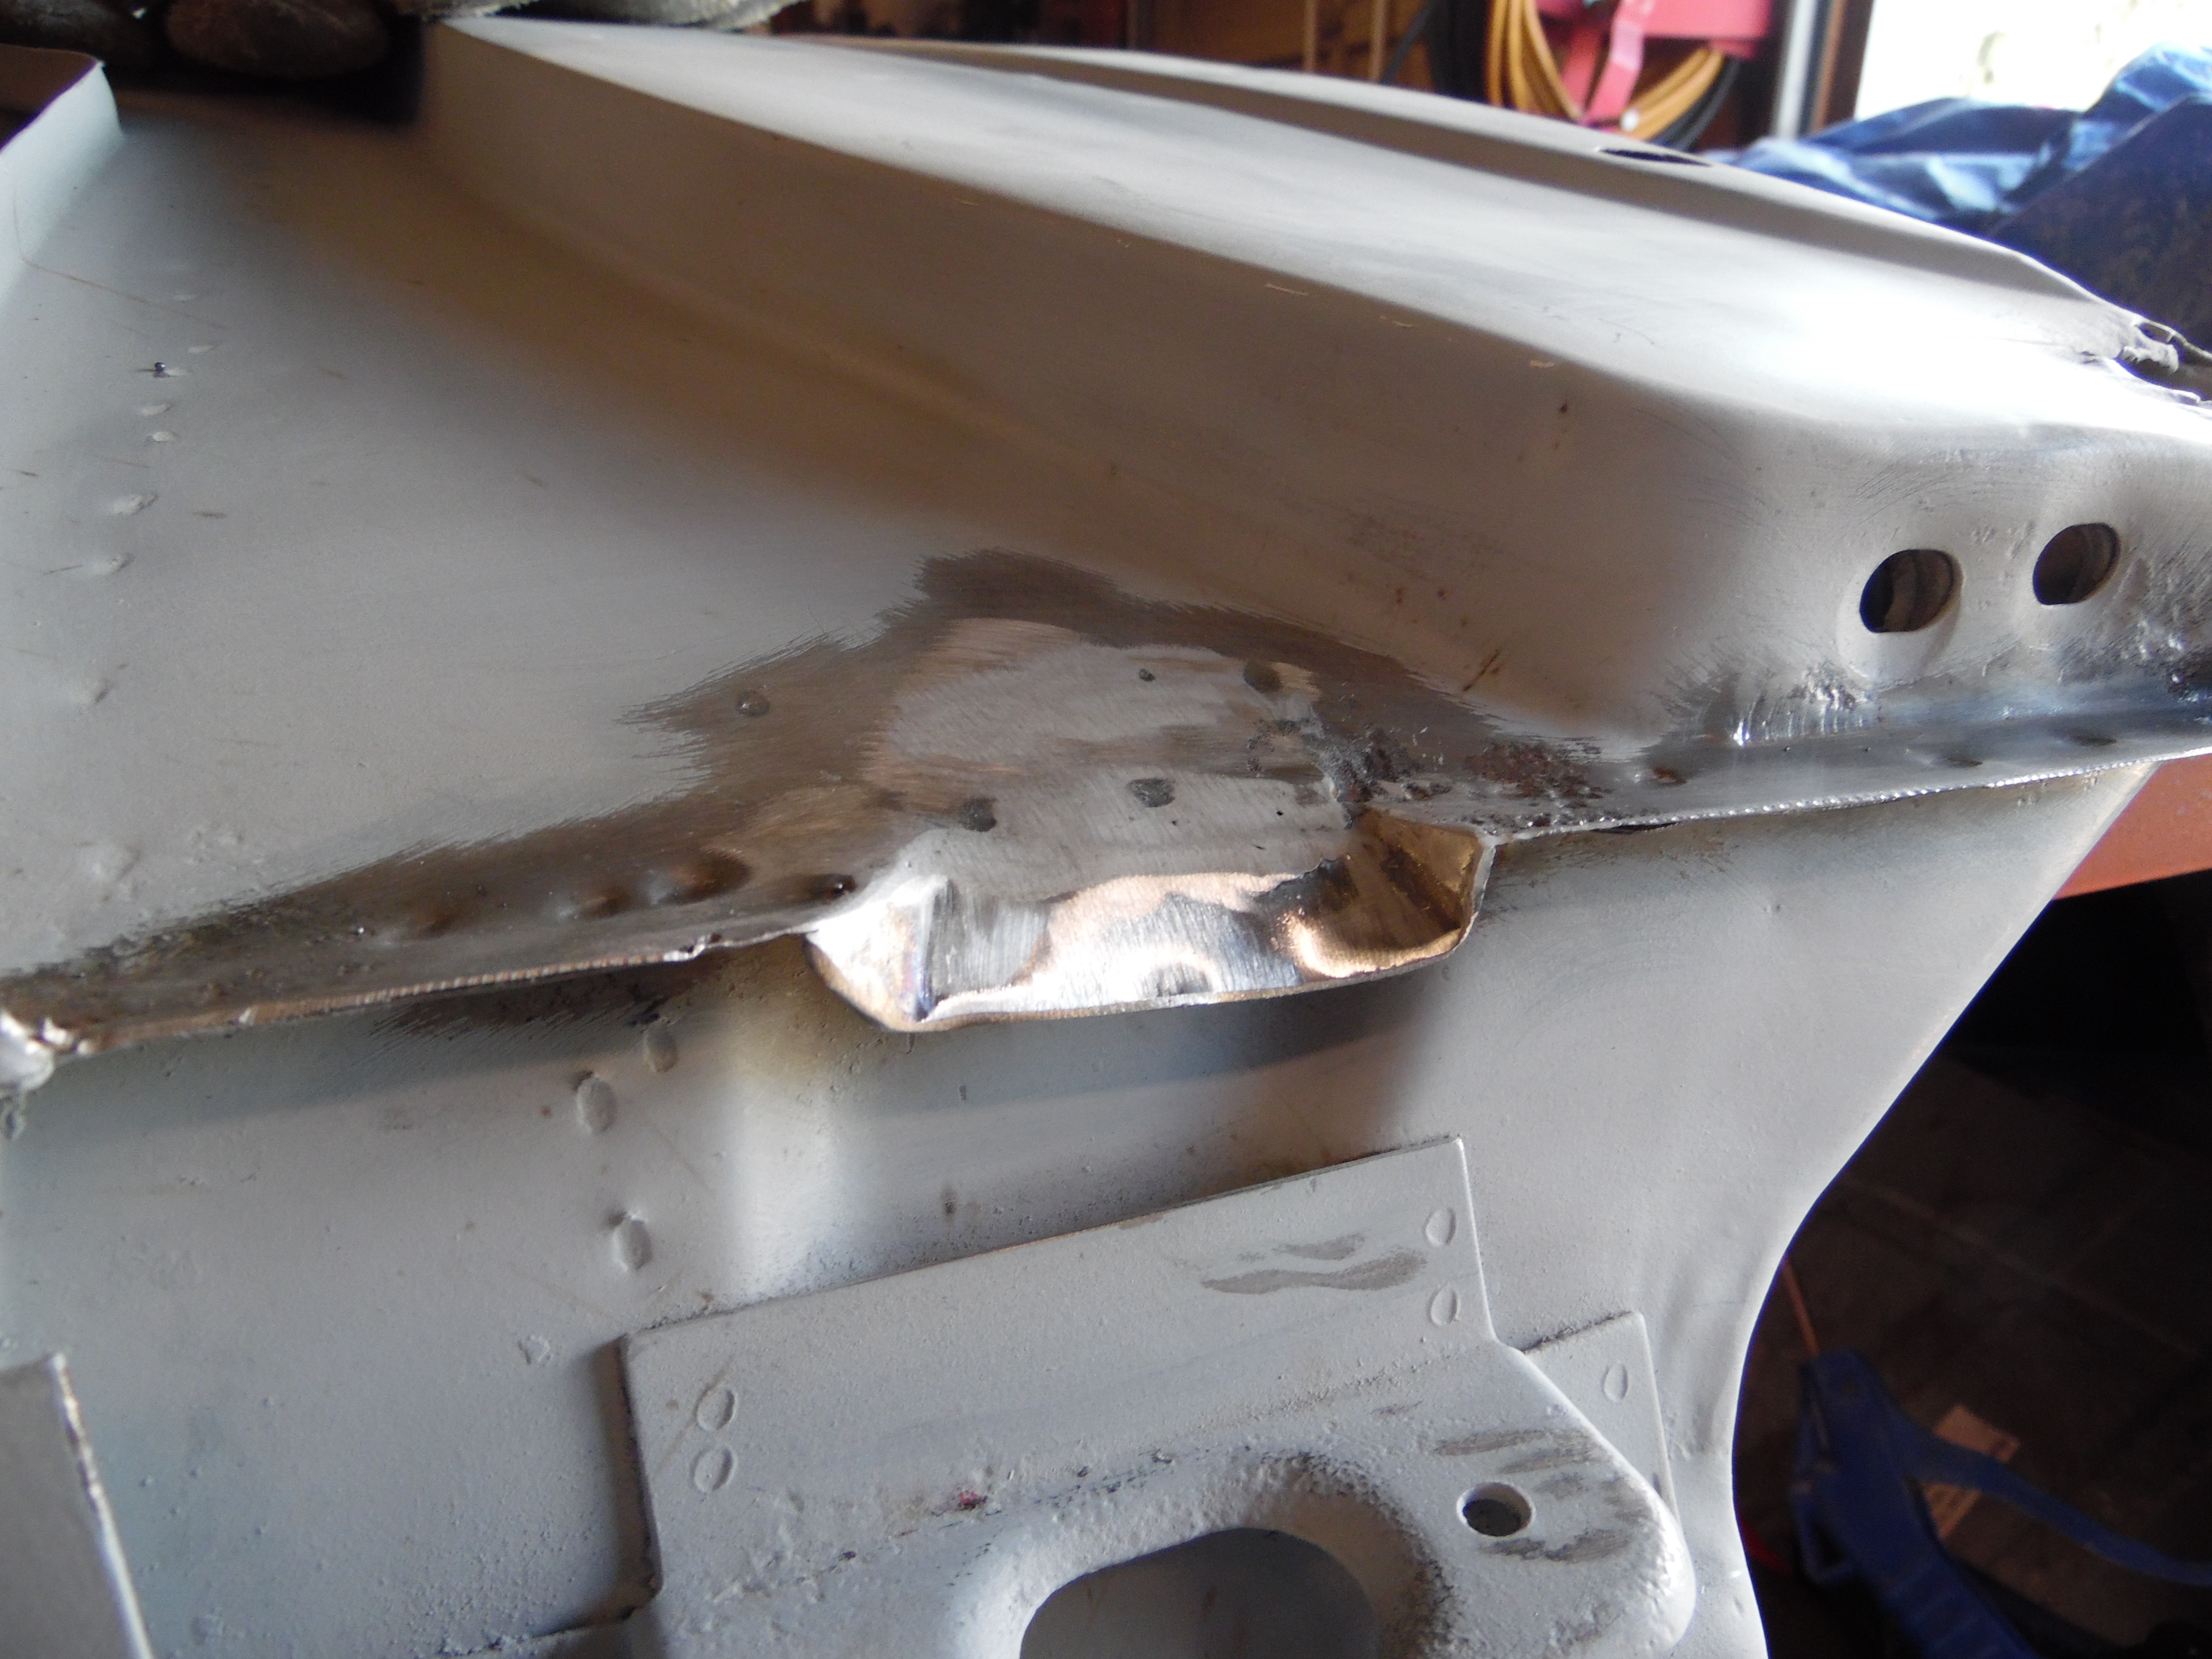 8-27-15 Working on the firewall and shelf currently. As I dig in and fix problems, more appear, but I am getting a handle on them and can actually call part of the repairs completed. Rusted out sections replaced, primer in place, and progress happening. Check the log book for details. 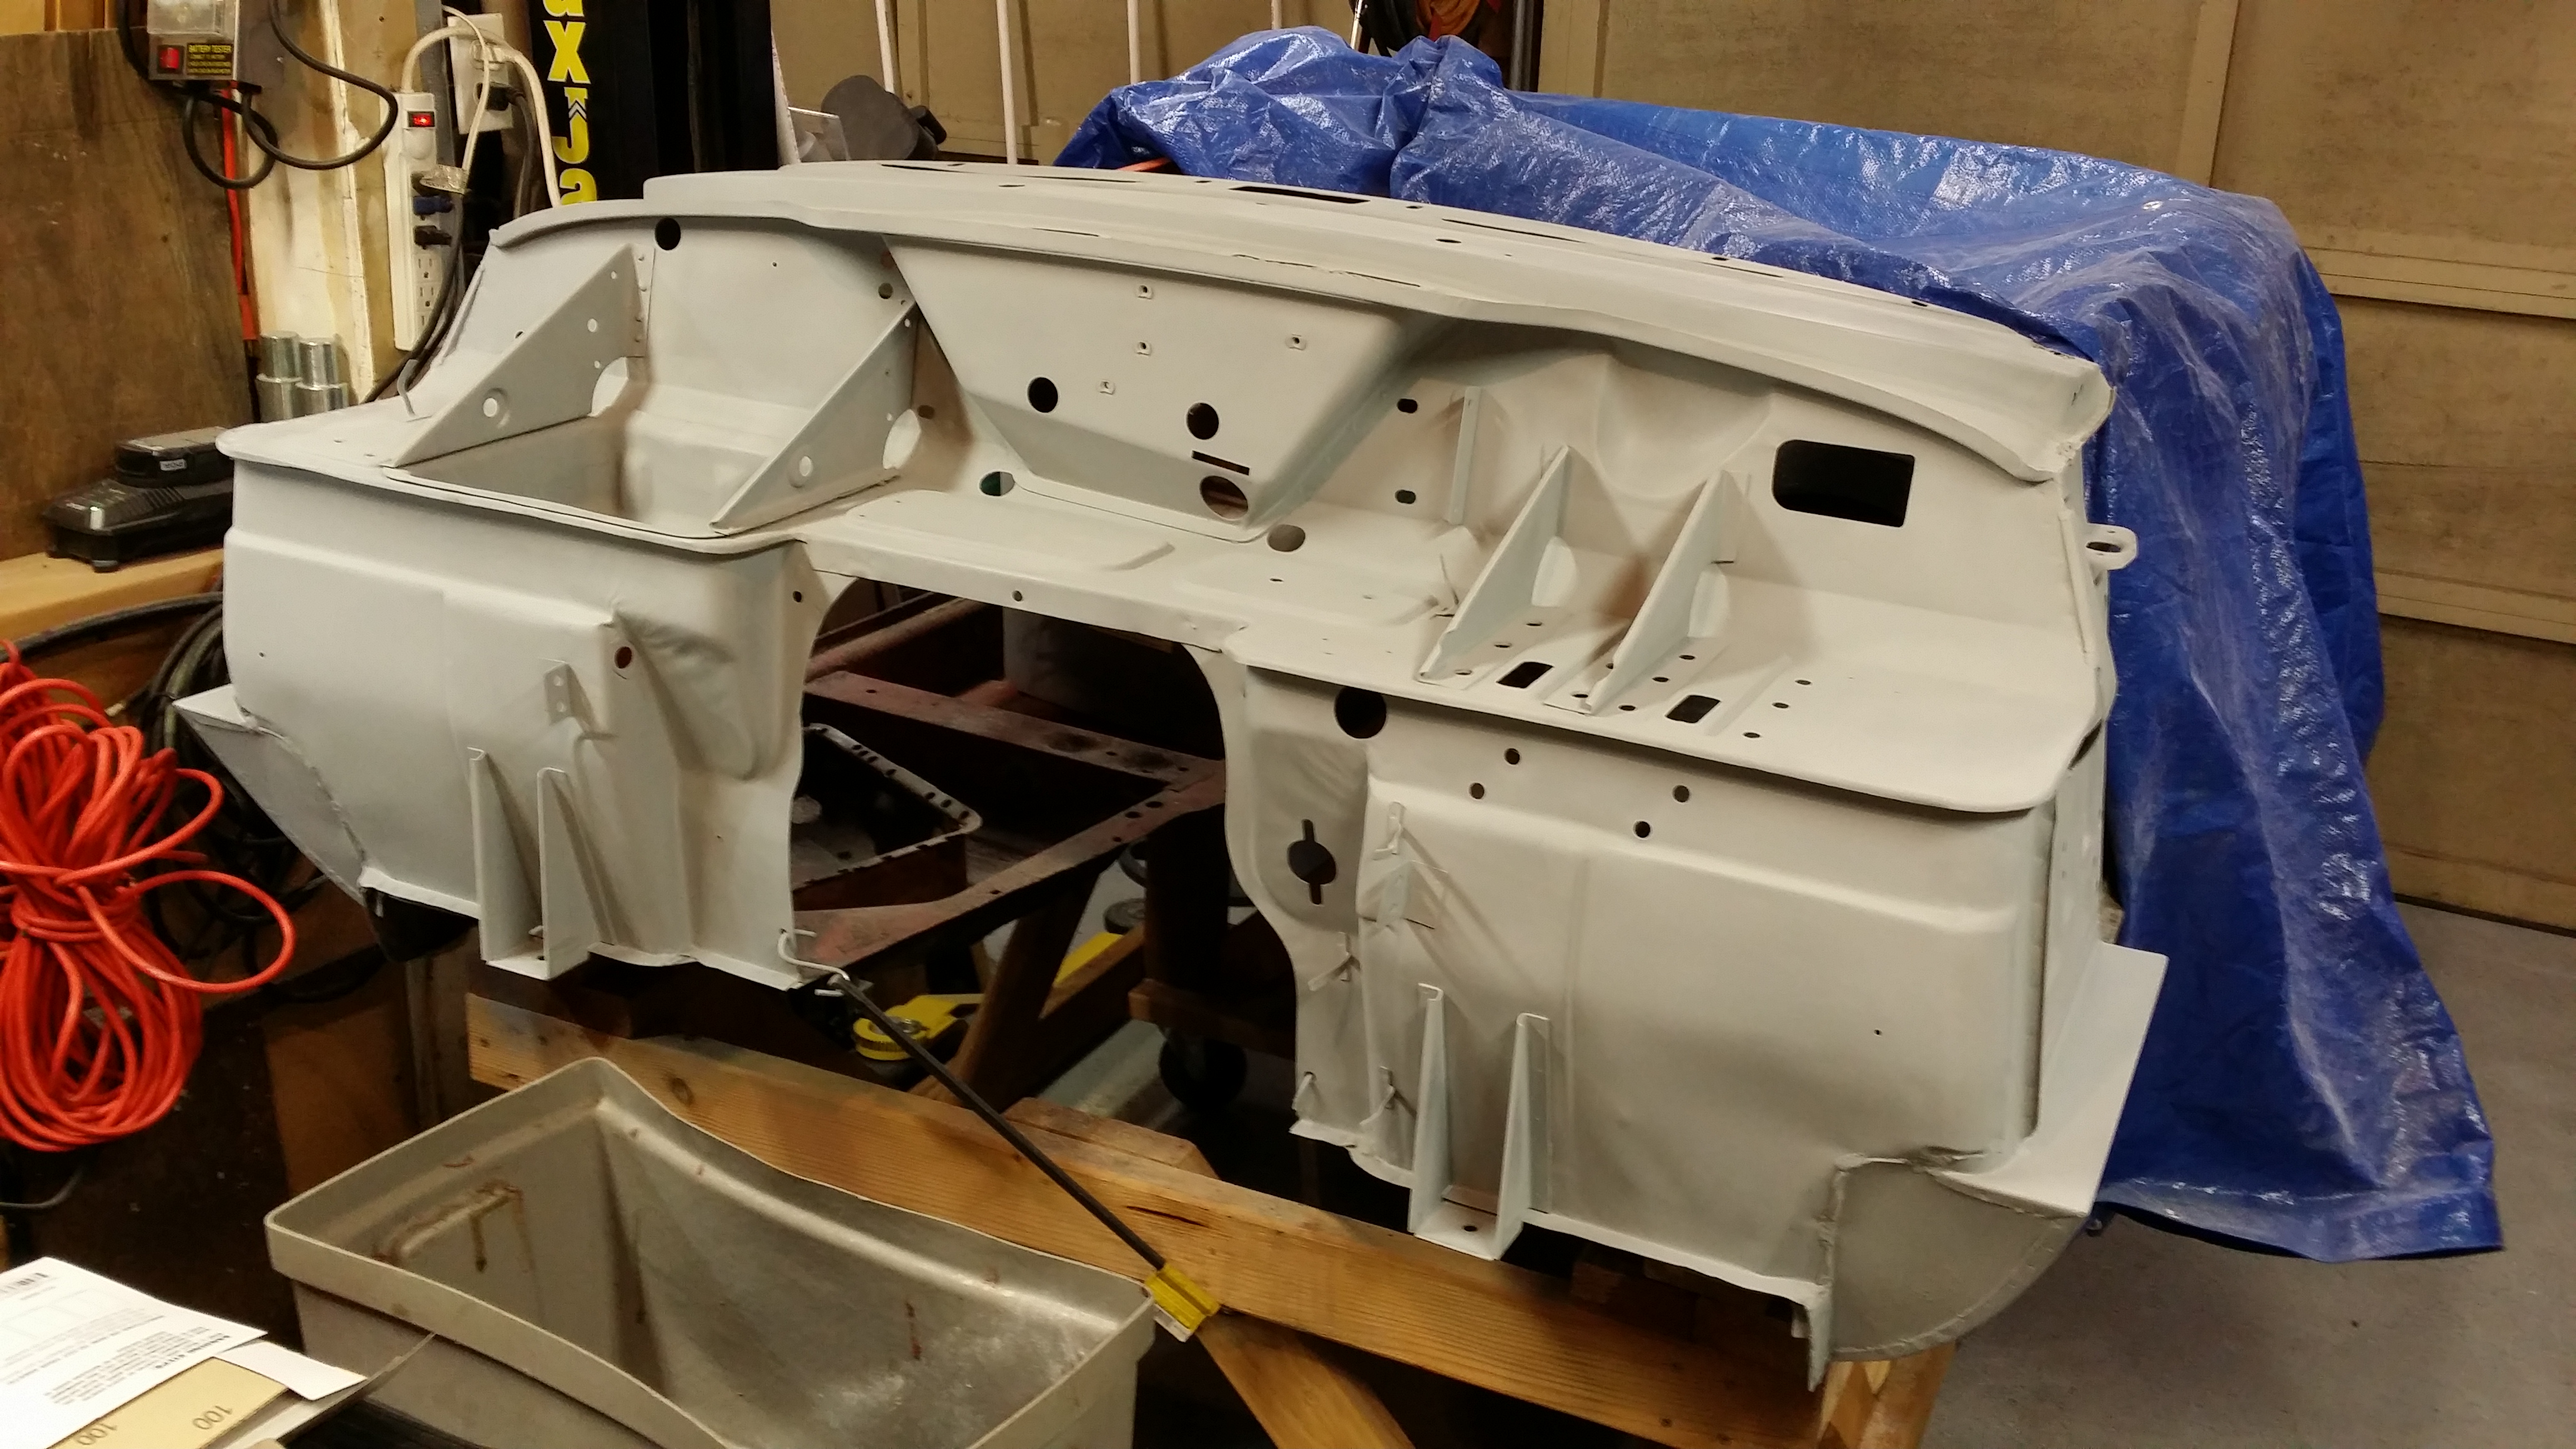 Battery Box Replacement: DONE 8-27-15 Completed the battery box replacement. This is the first part to get cut out and replaced with new. These rust out on the Spitfires and this one was no exception. It was a simple if involved process, and has gone a long way towards boosting my confidence in my ability to fix this car up right. Check out the Log Book for full progress with photos. 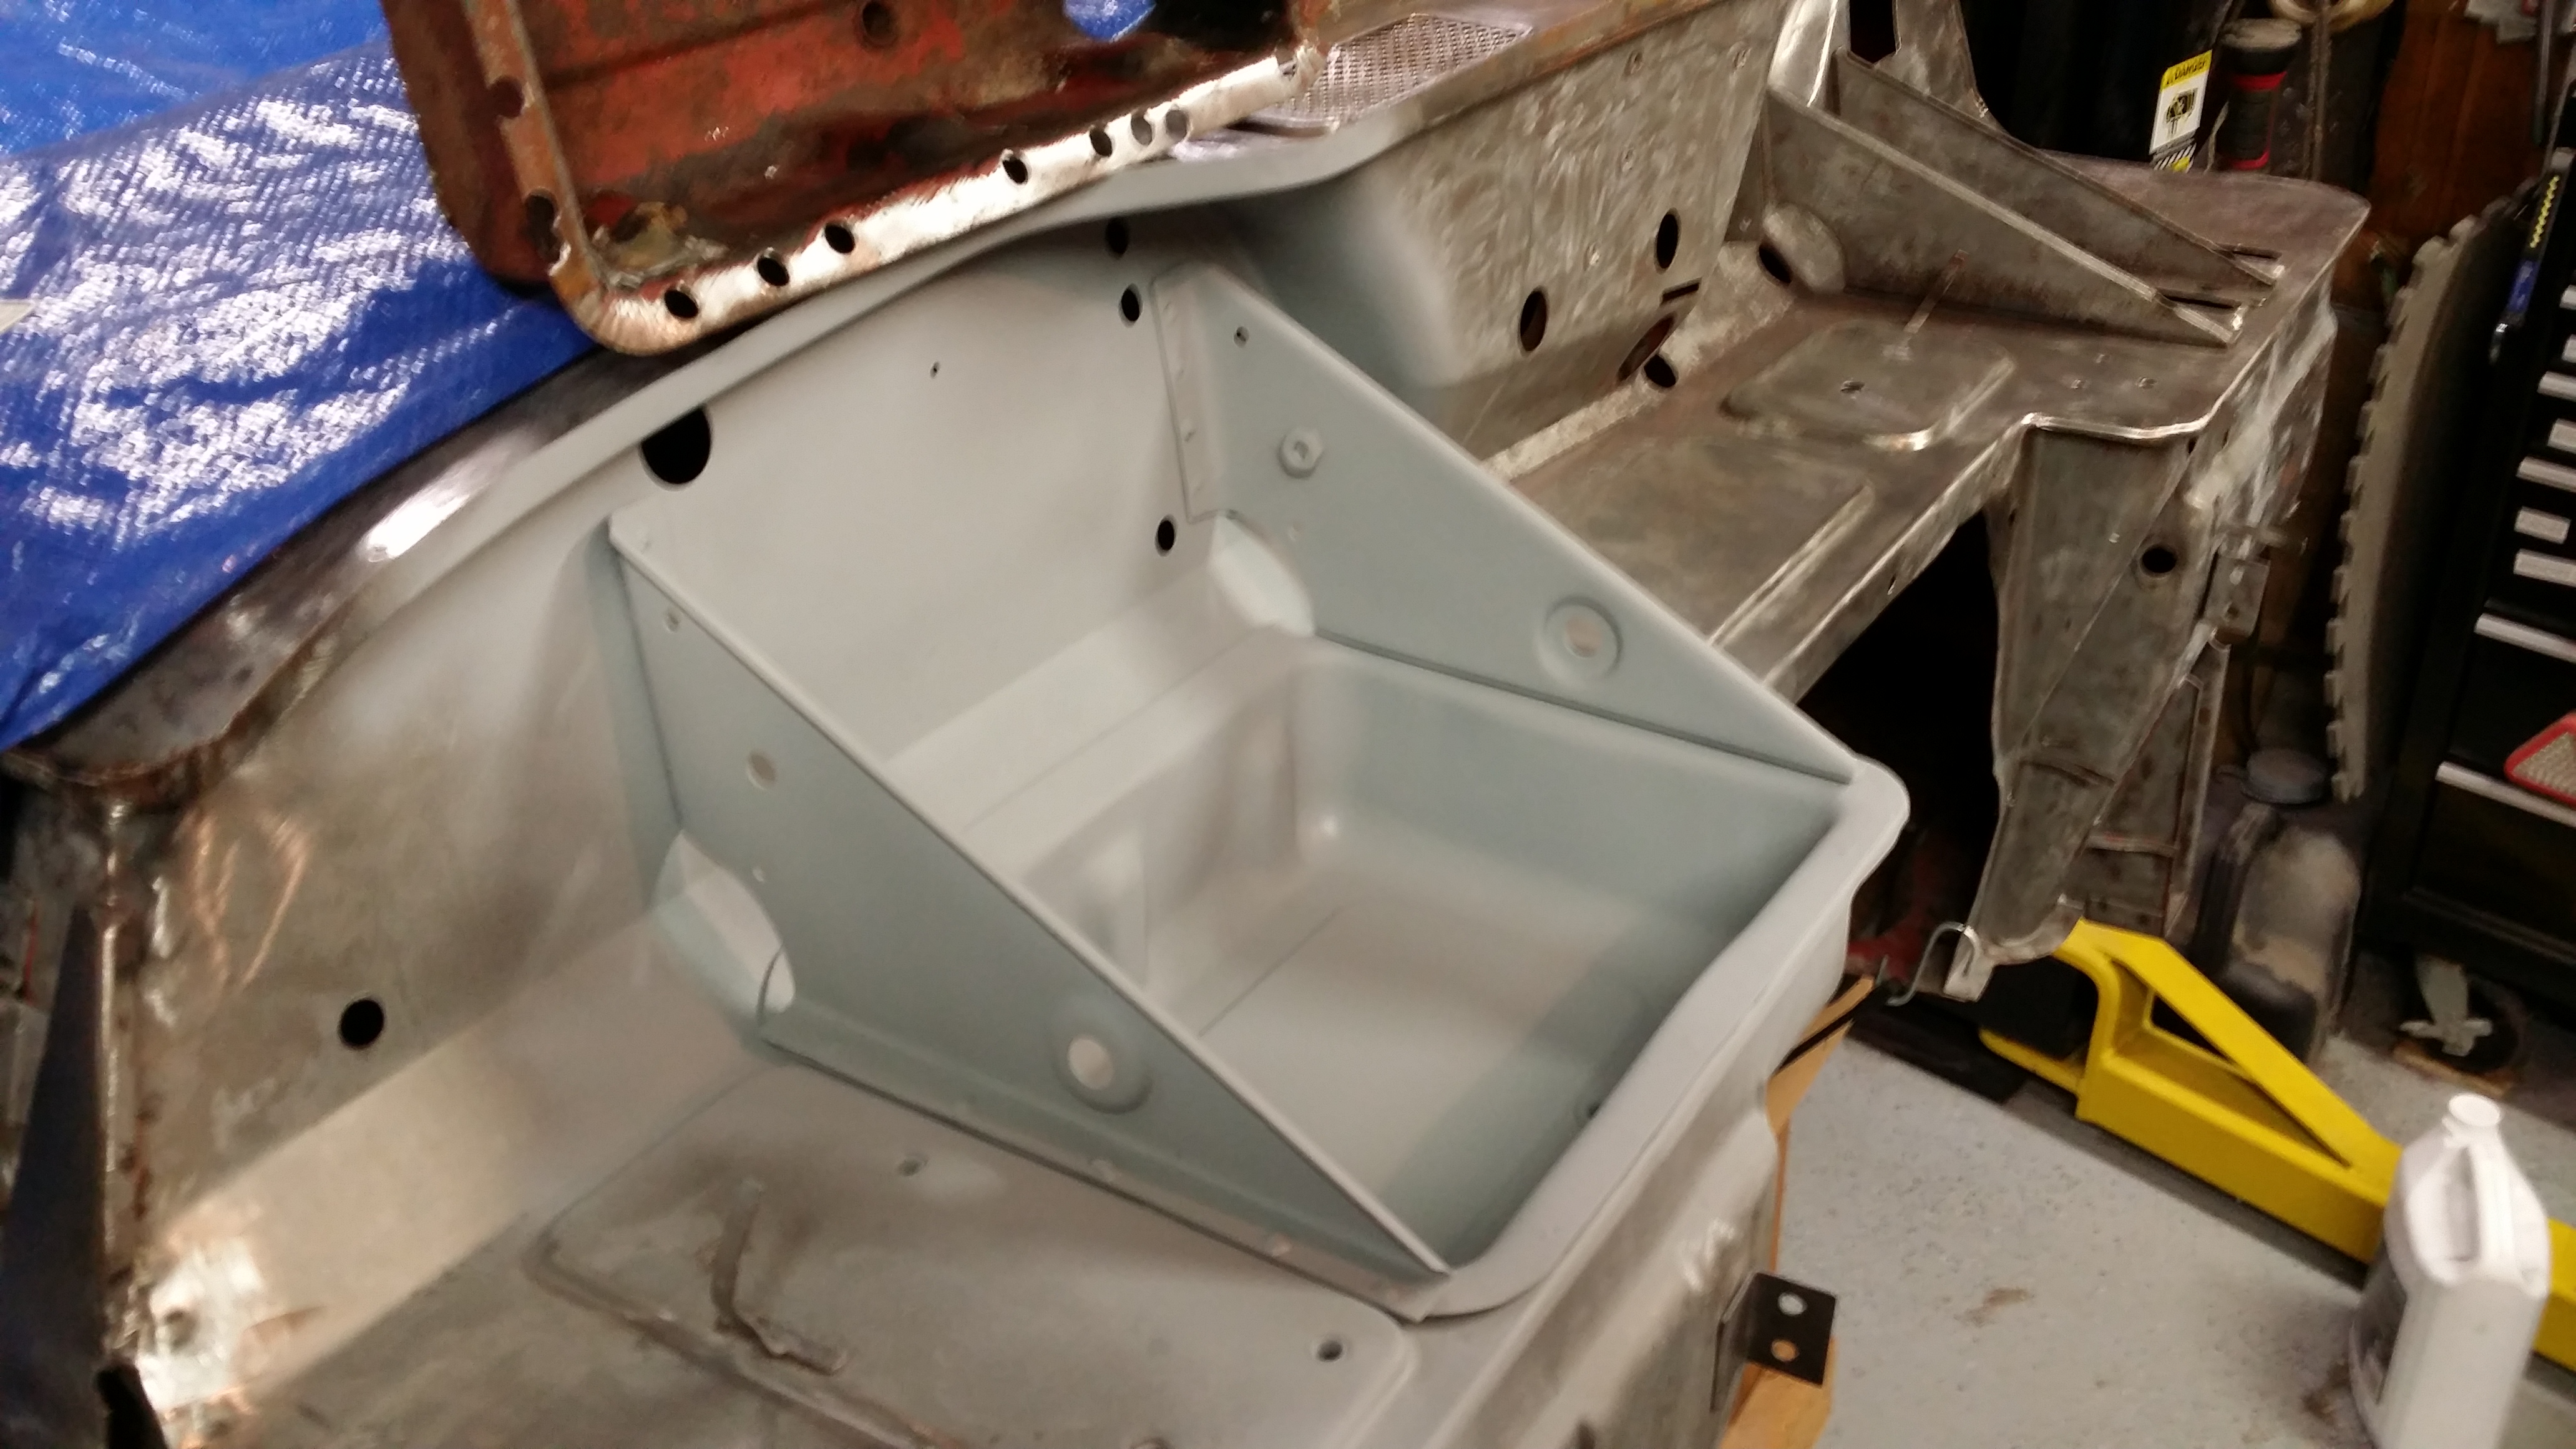 Next up after this will be cleanup of the firewall and primer. Then on to the cowl and windshield areas. Each project is a standalone one, taken one at a time. 8-23-15 Returned to work on Giles, drilled out all the spotwelds holding the rusted out battery box in place and the brackets above that. Metal has been prepped for a new box which is already here. I will take advantage of the brackets being removed to media blast them in the cabinet before welding them back in. 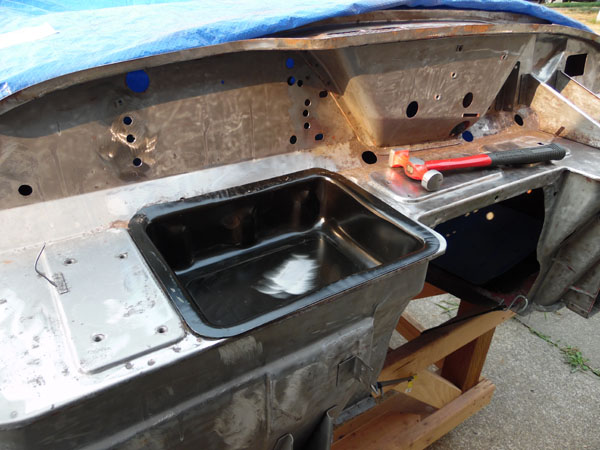 6-24-15 Made more progress and have very little paint left to take off. Driver side / left side rocker panel is about it. There are a few spots left here and there from the stripping operation that I need to touch up, but I'm pleased overall. I did a bunch of hammer and dolly work around the body tub, removing dings, dents, and creases that someone previously had used body filler on instead. I'm getting close to the point where I will have to pick up the cutoff wheel and welder to start working on the metal itself. Check the Log Book for full details. 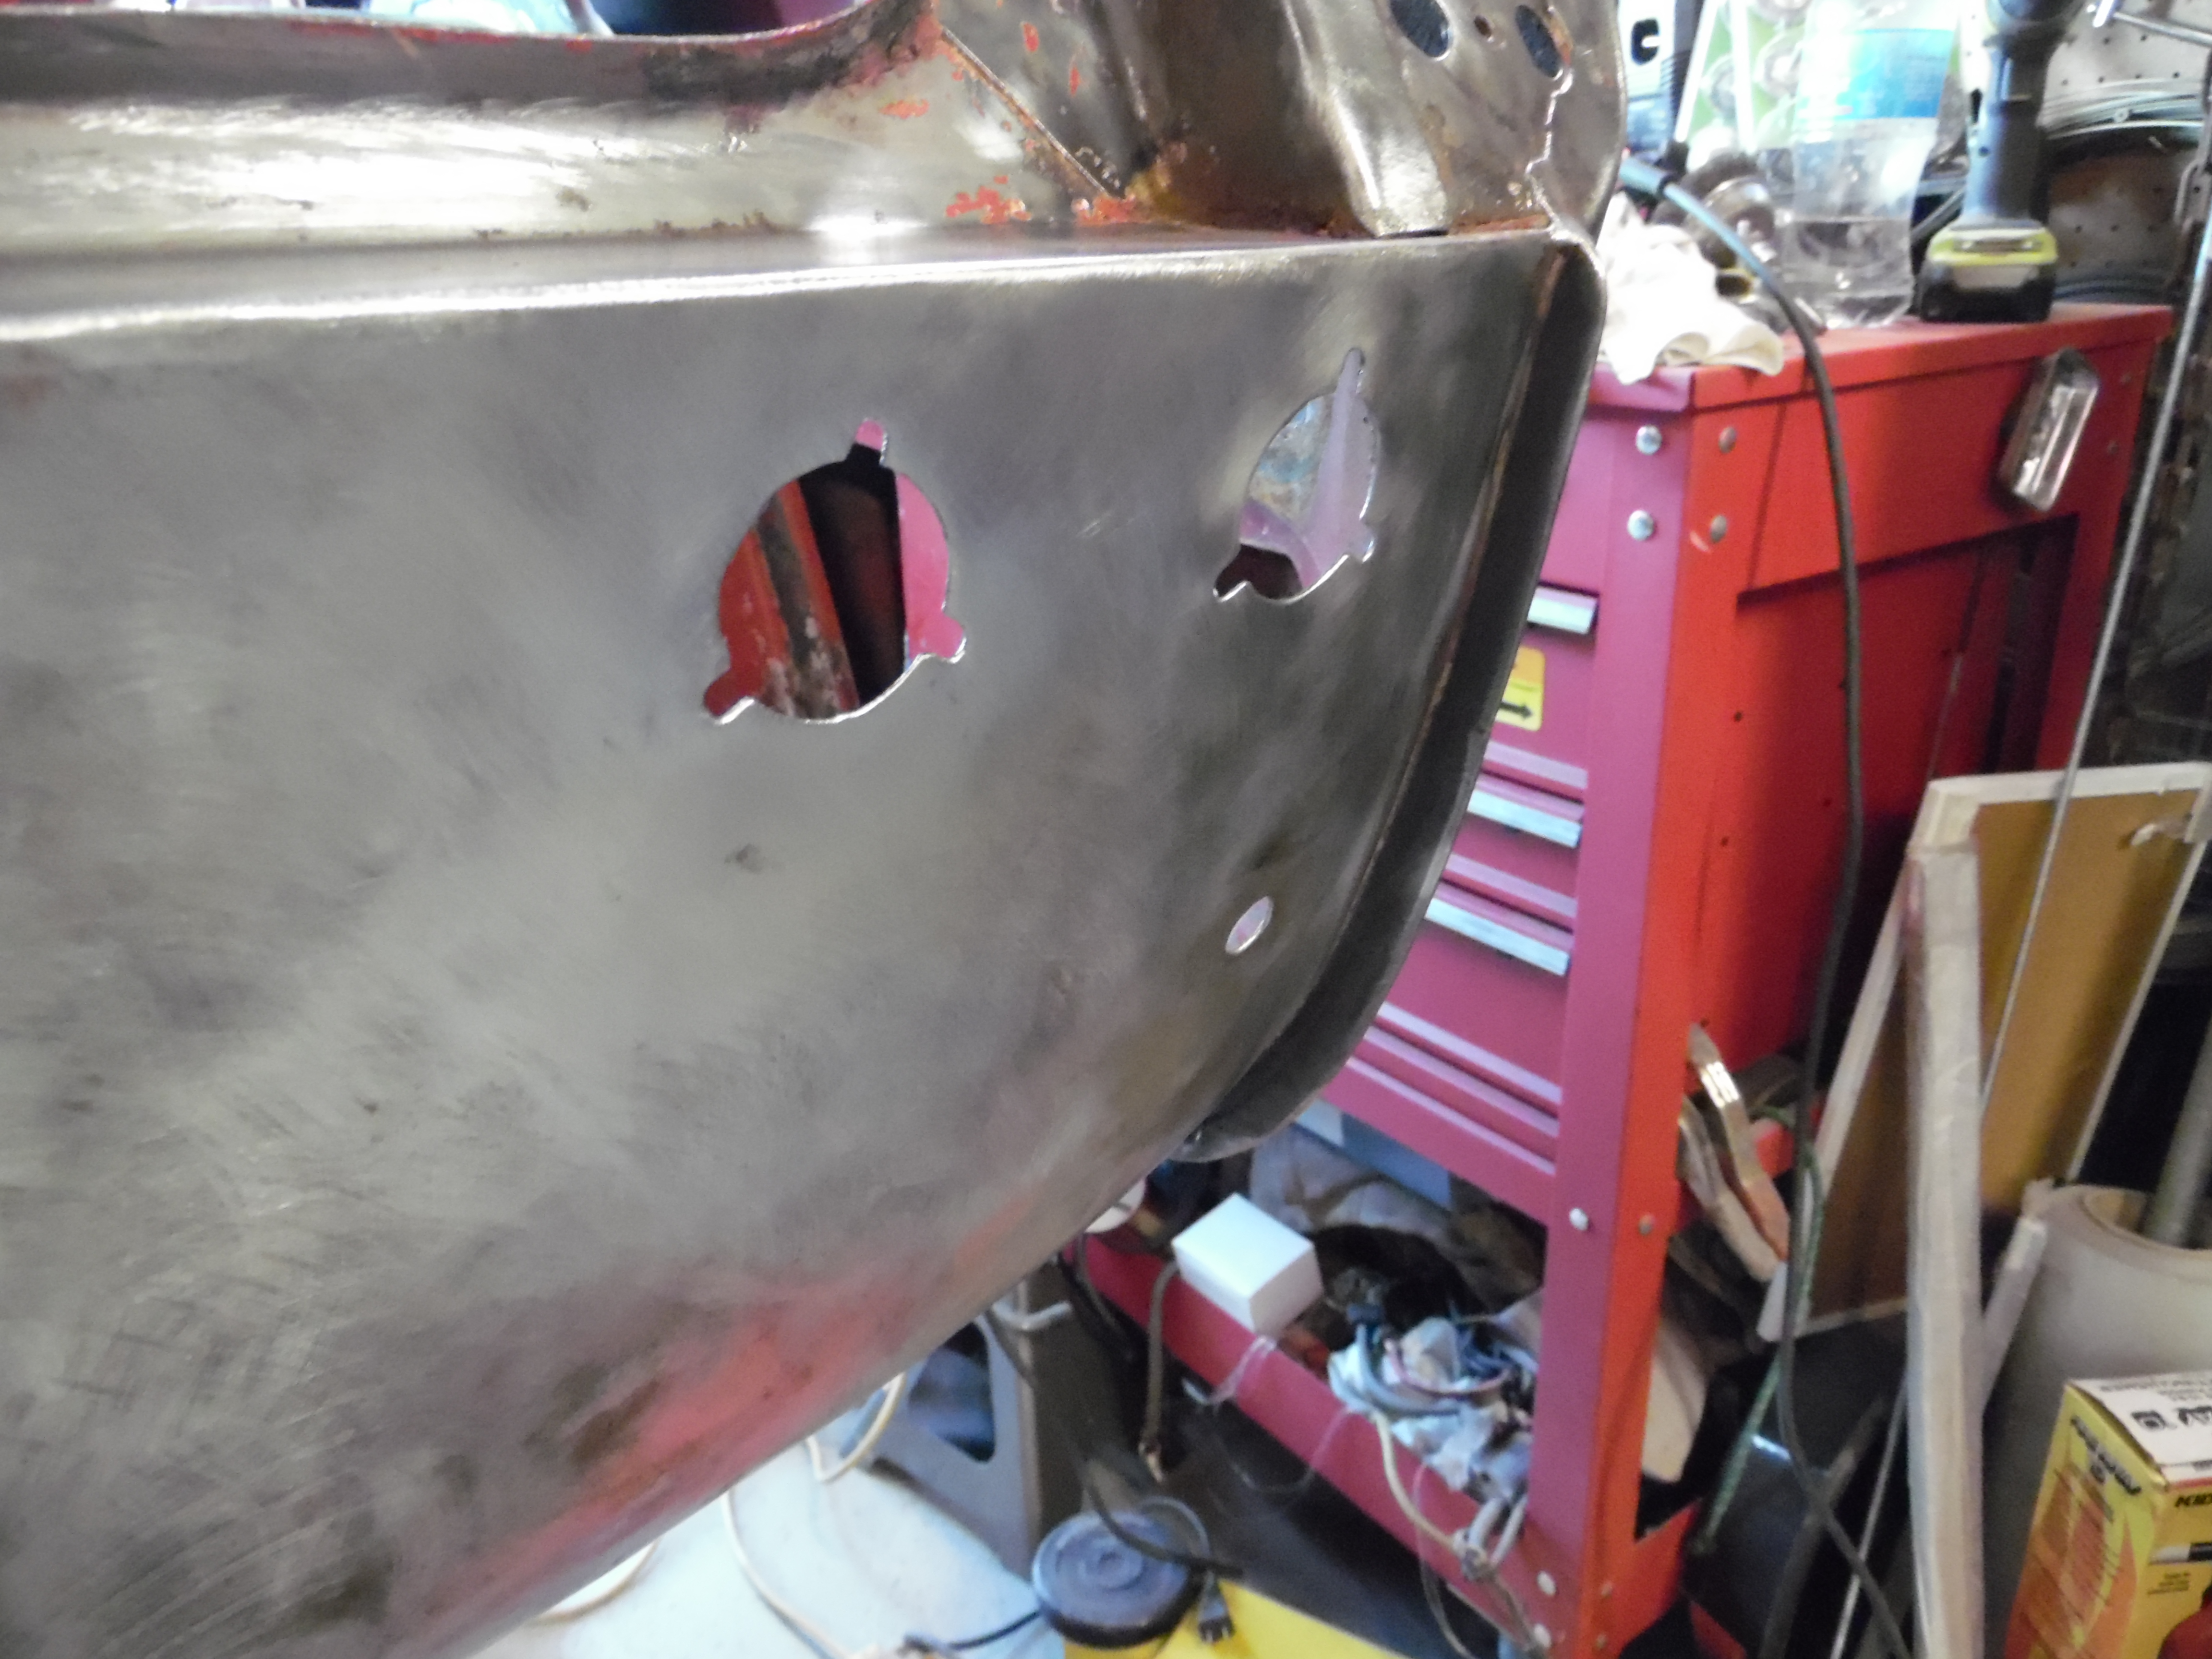    6-21-15 Got most of the paint off the body tub with only a small amount on the rocker panels. I need to get the body up higher off the body cart to get access to the rockers better for this last bit. There is still remains of paint here and there that I'll want to go at with sand paper and brush, prep the surface, etc. Only after I get all the paint removed will I start metal working. 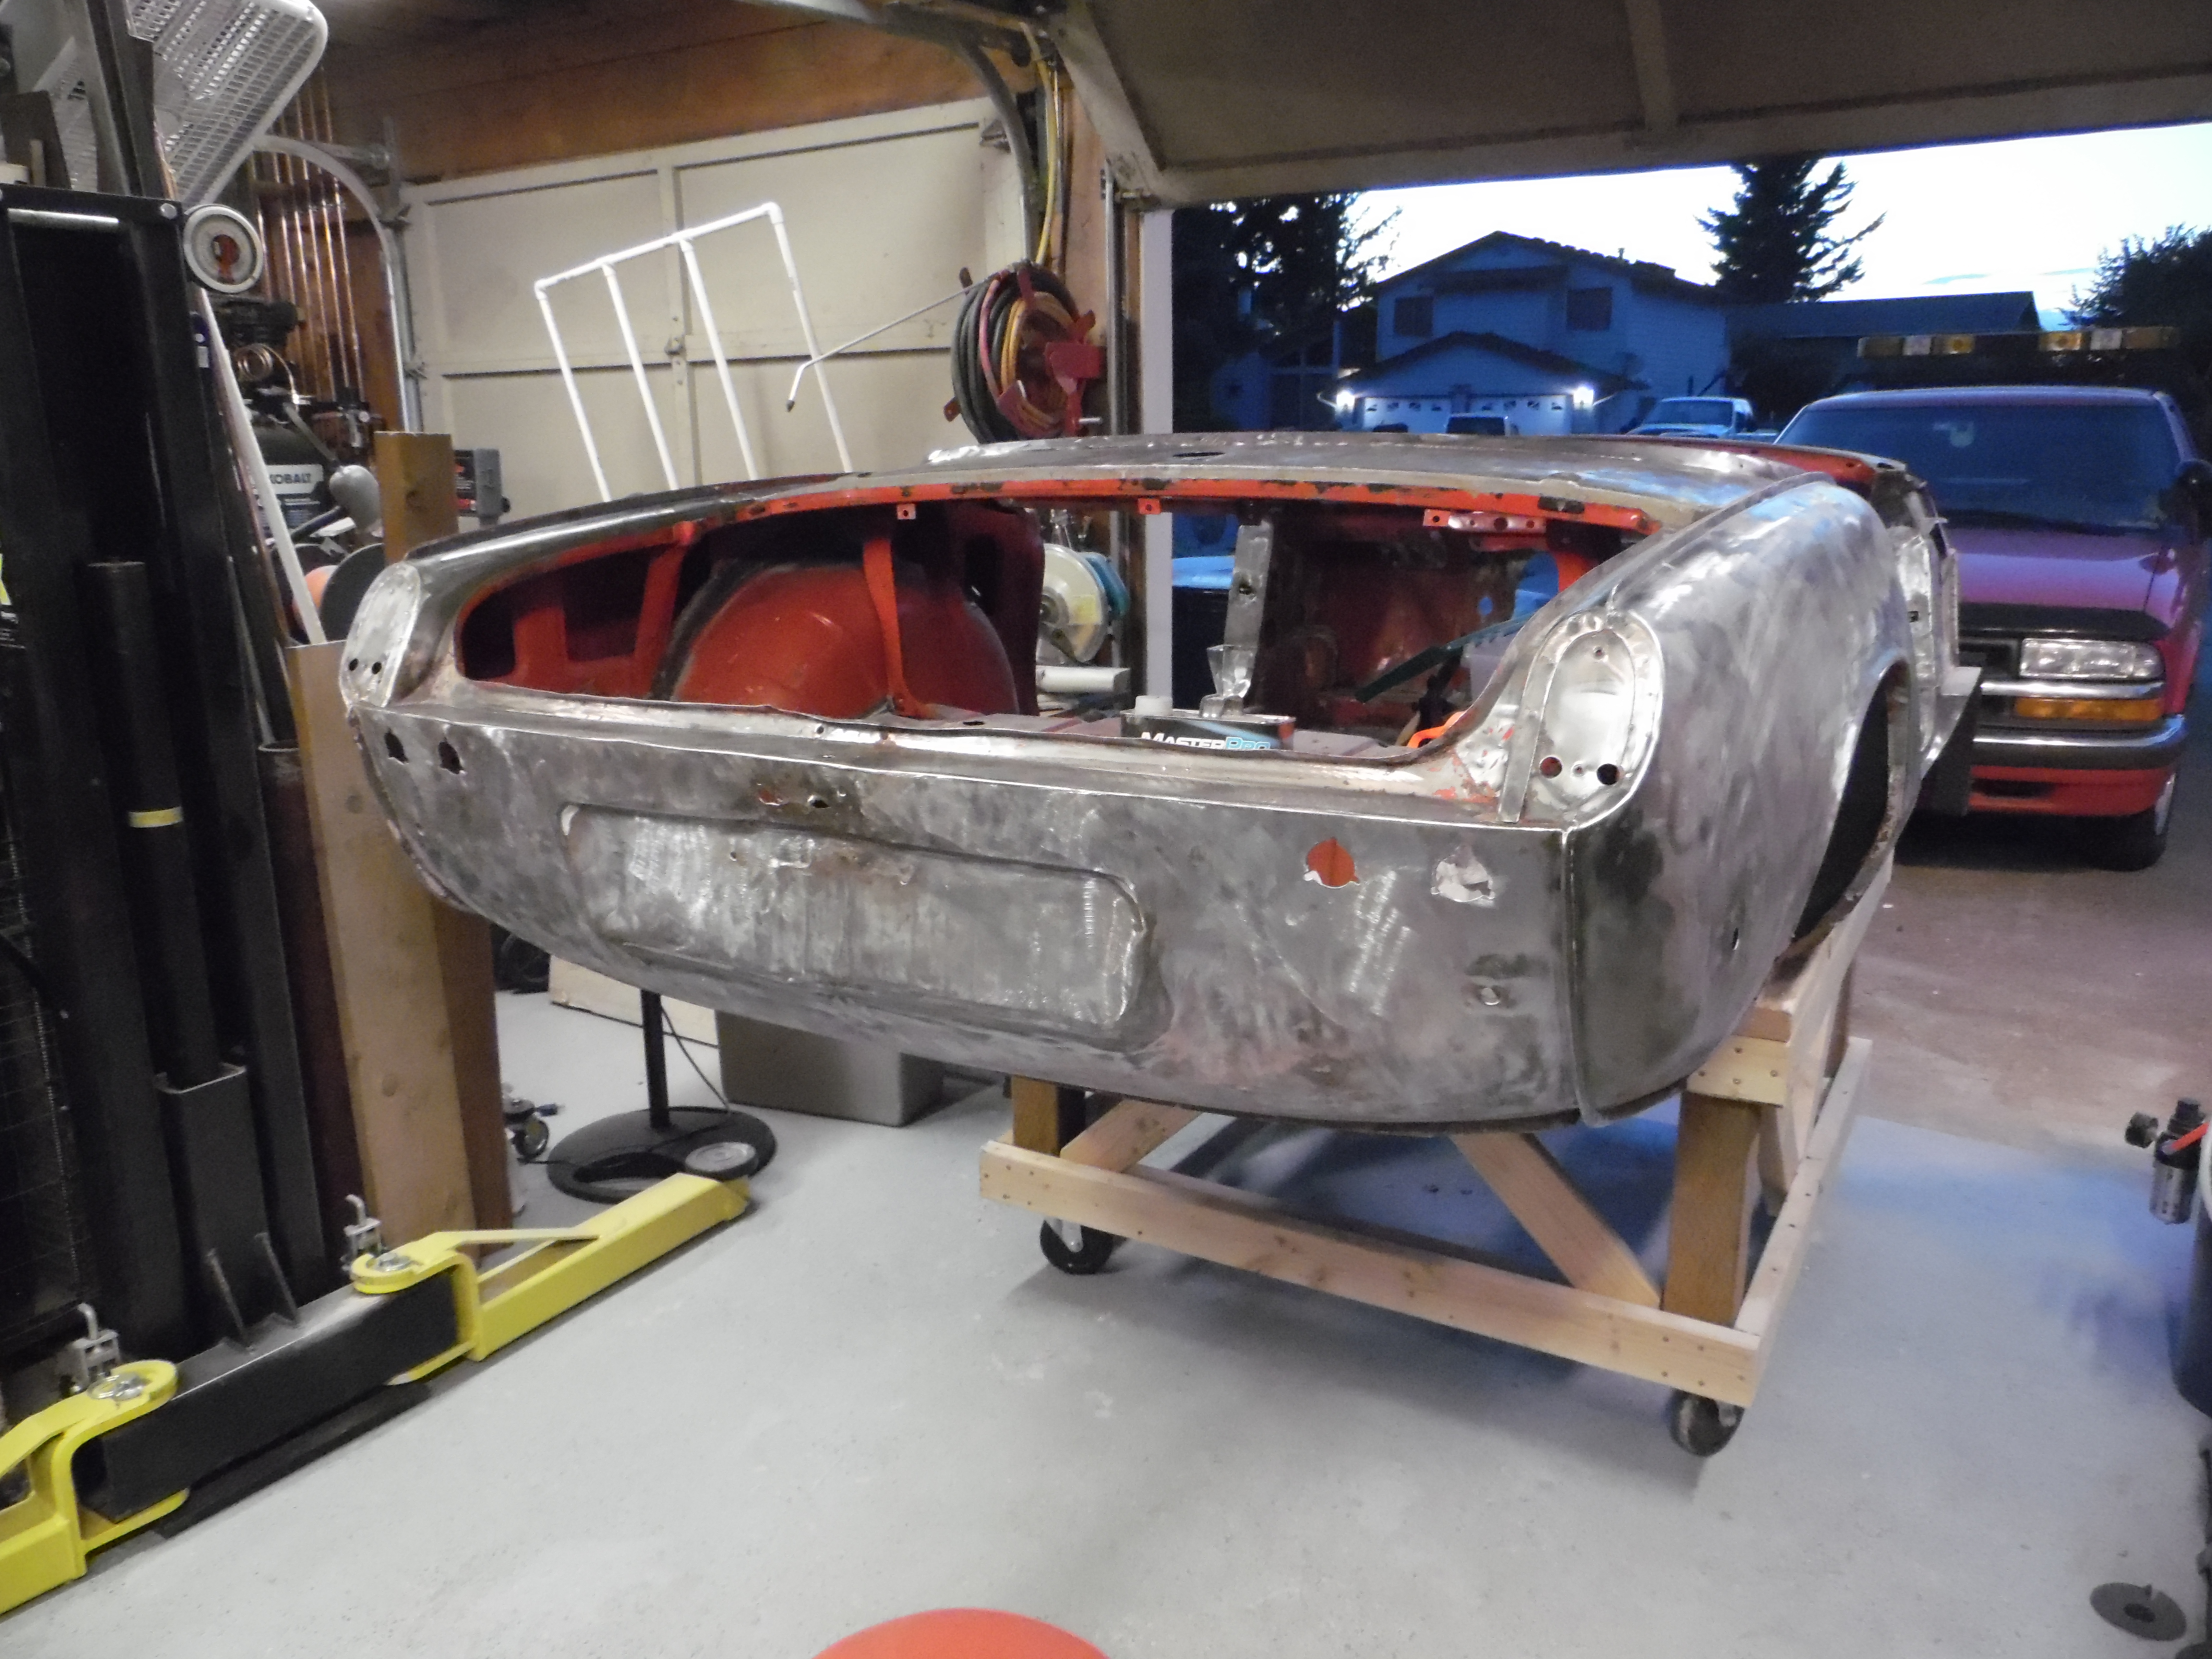 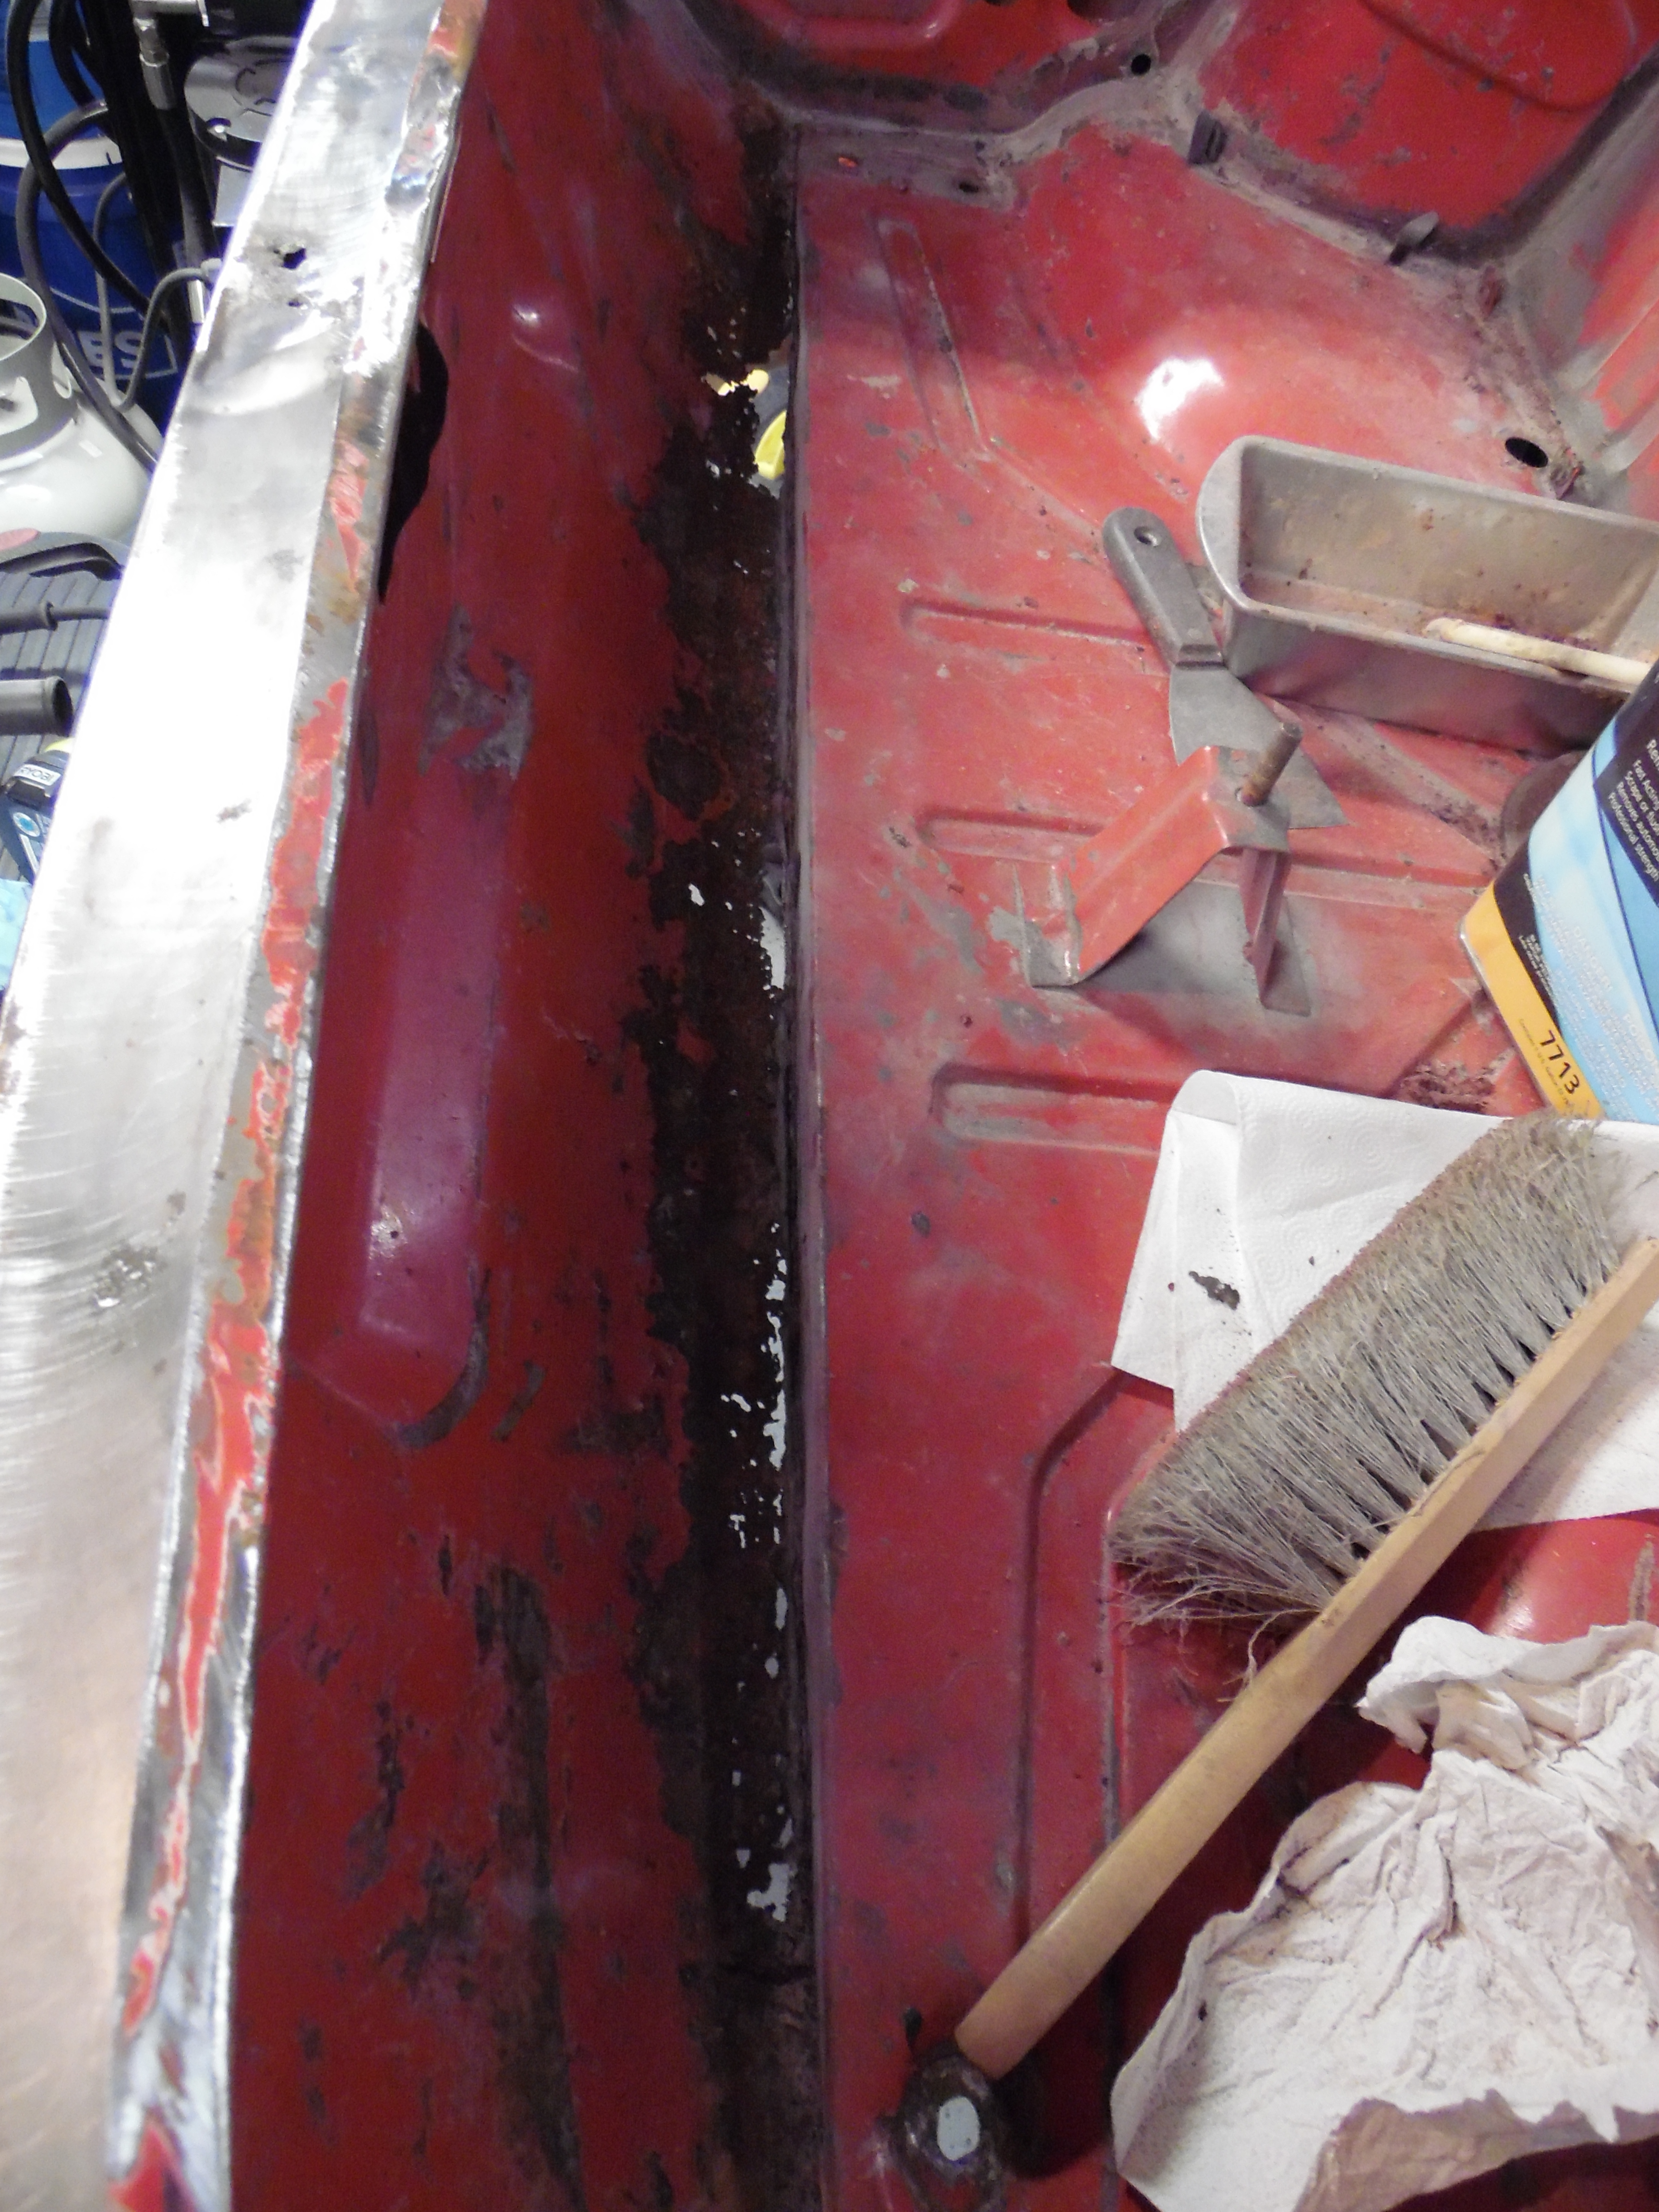 Rear valance is a bit too far gone and I'm serioulsy considering a replacement panel instead at $250. The time versus cost makes this look more and more preferable, though drilling all those spot welds could be daunting. 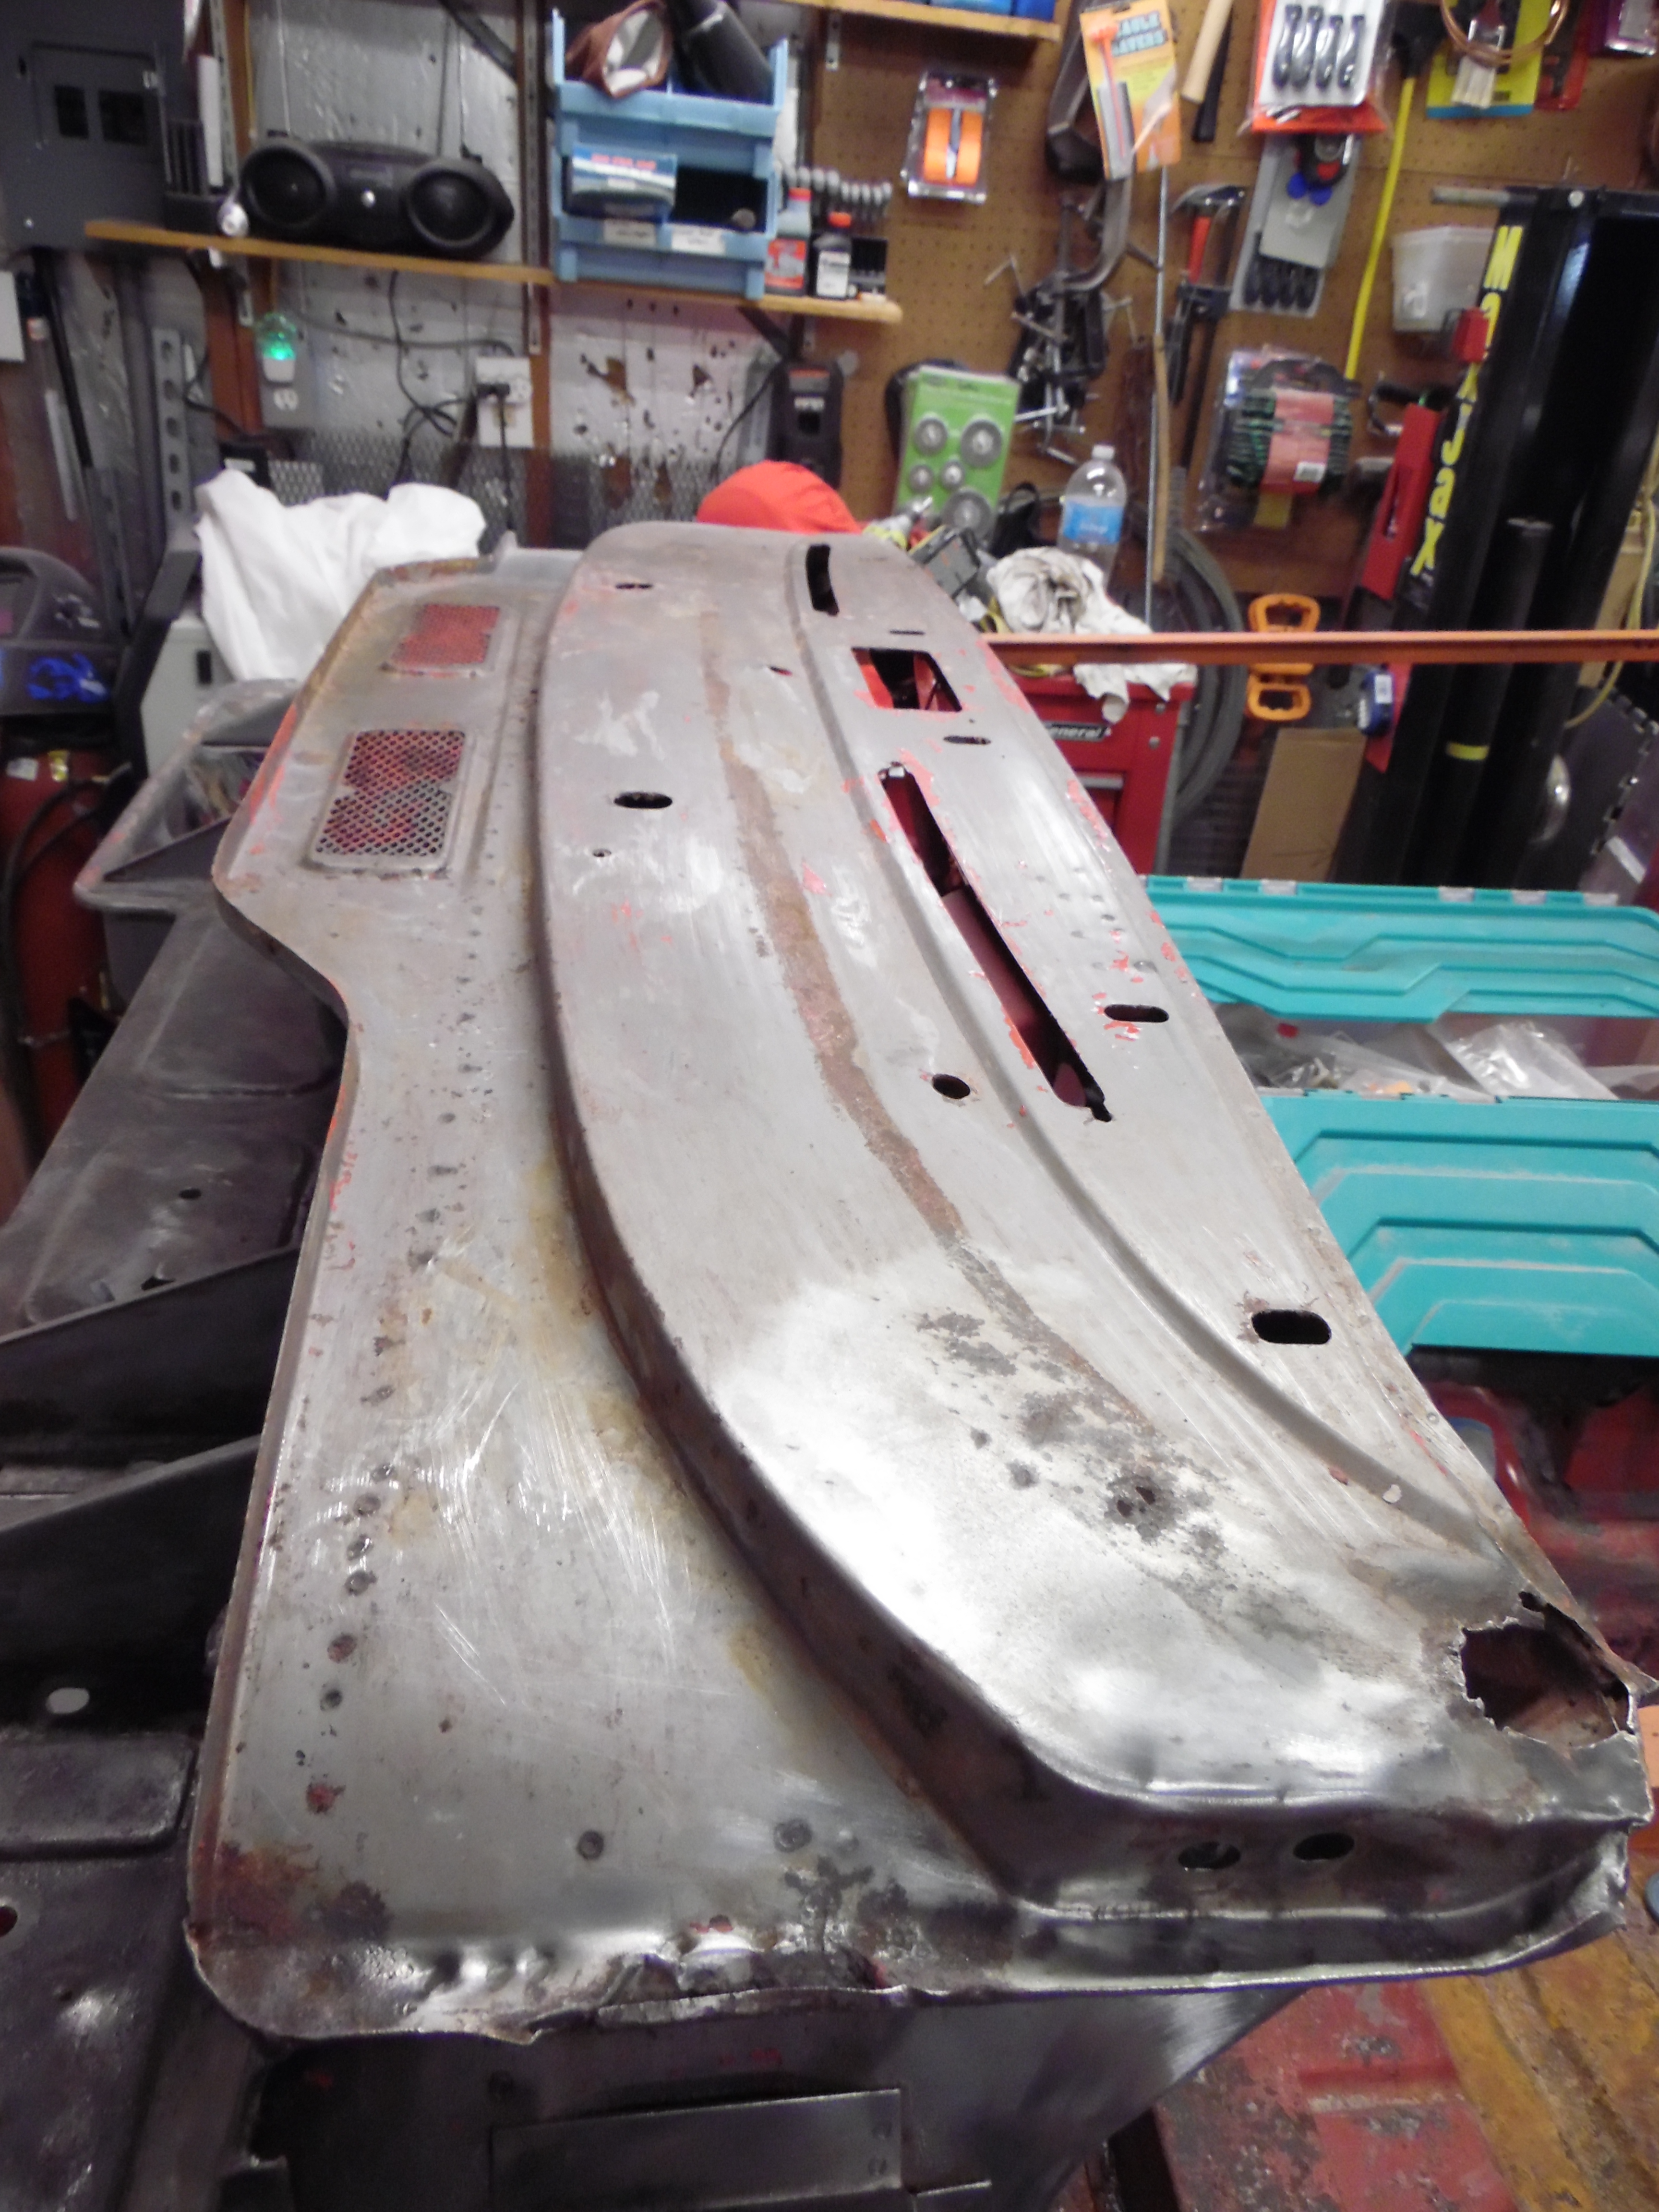 Pretty ragged holes for the windshield mount that will have to be cut out and remade. Very doable. 6-16-15 Started stripping paint using chemical aircraft paint remover from the main body tub. Use a lot of ventilation! Works well, but is messy. Tarps and plastic are your friends. 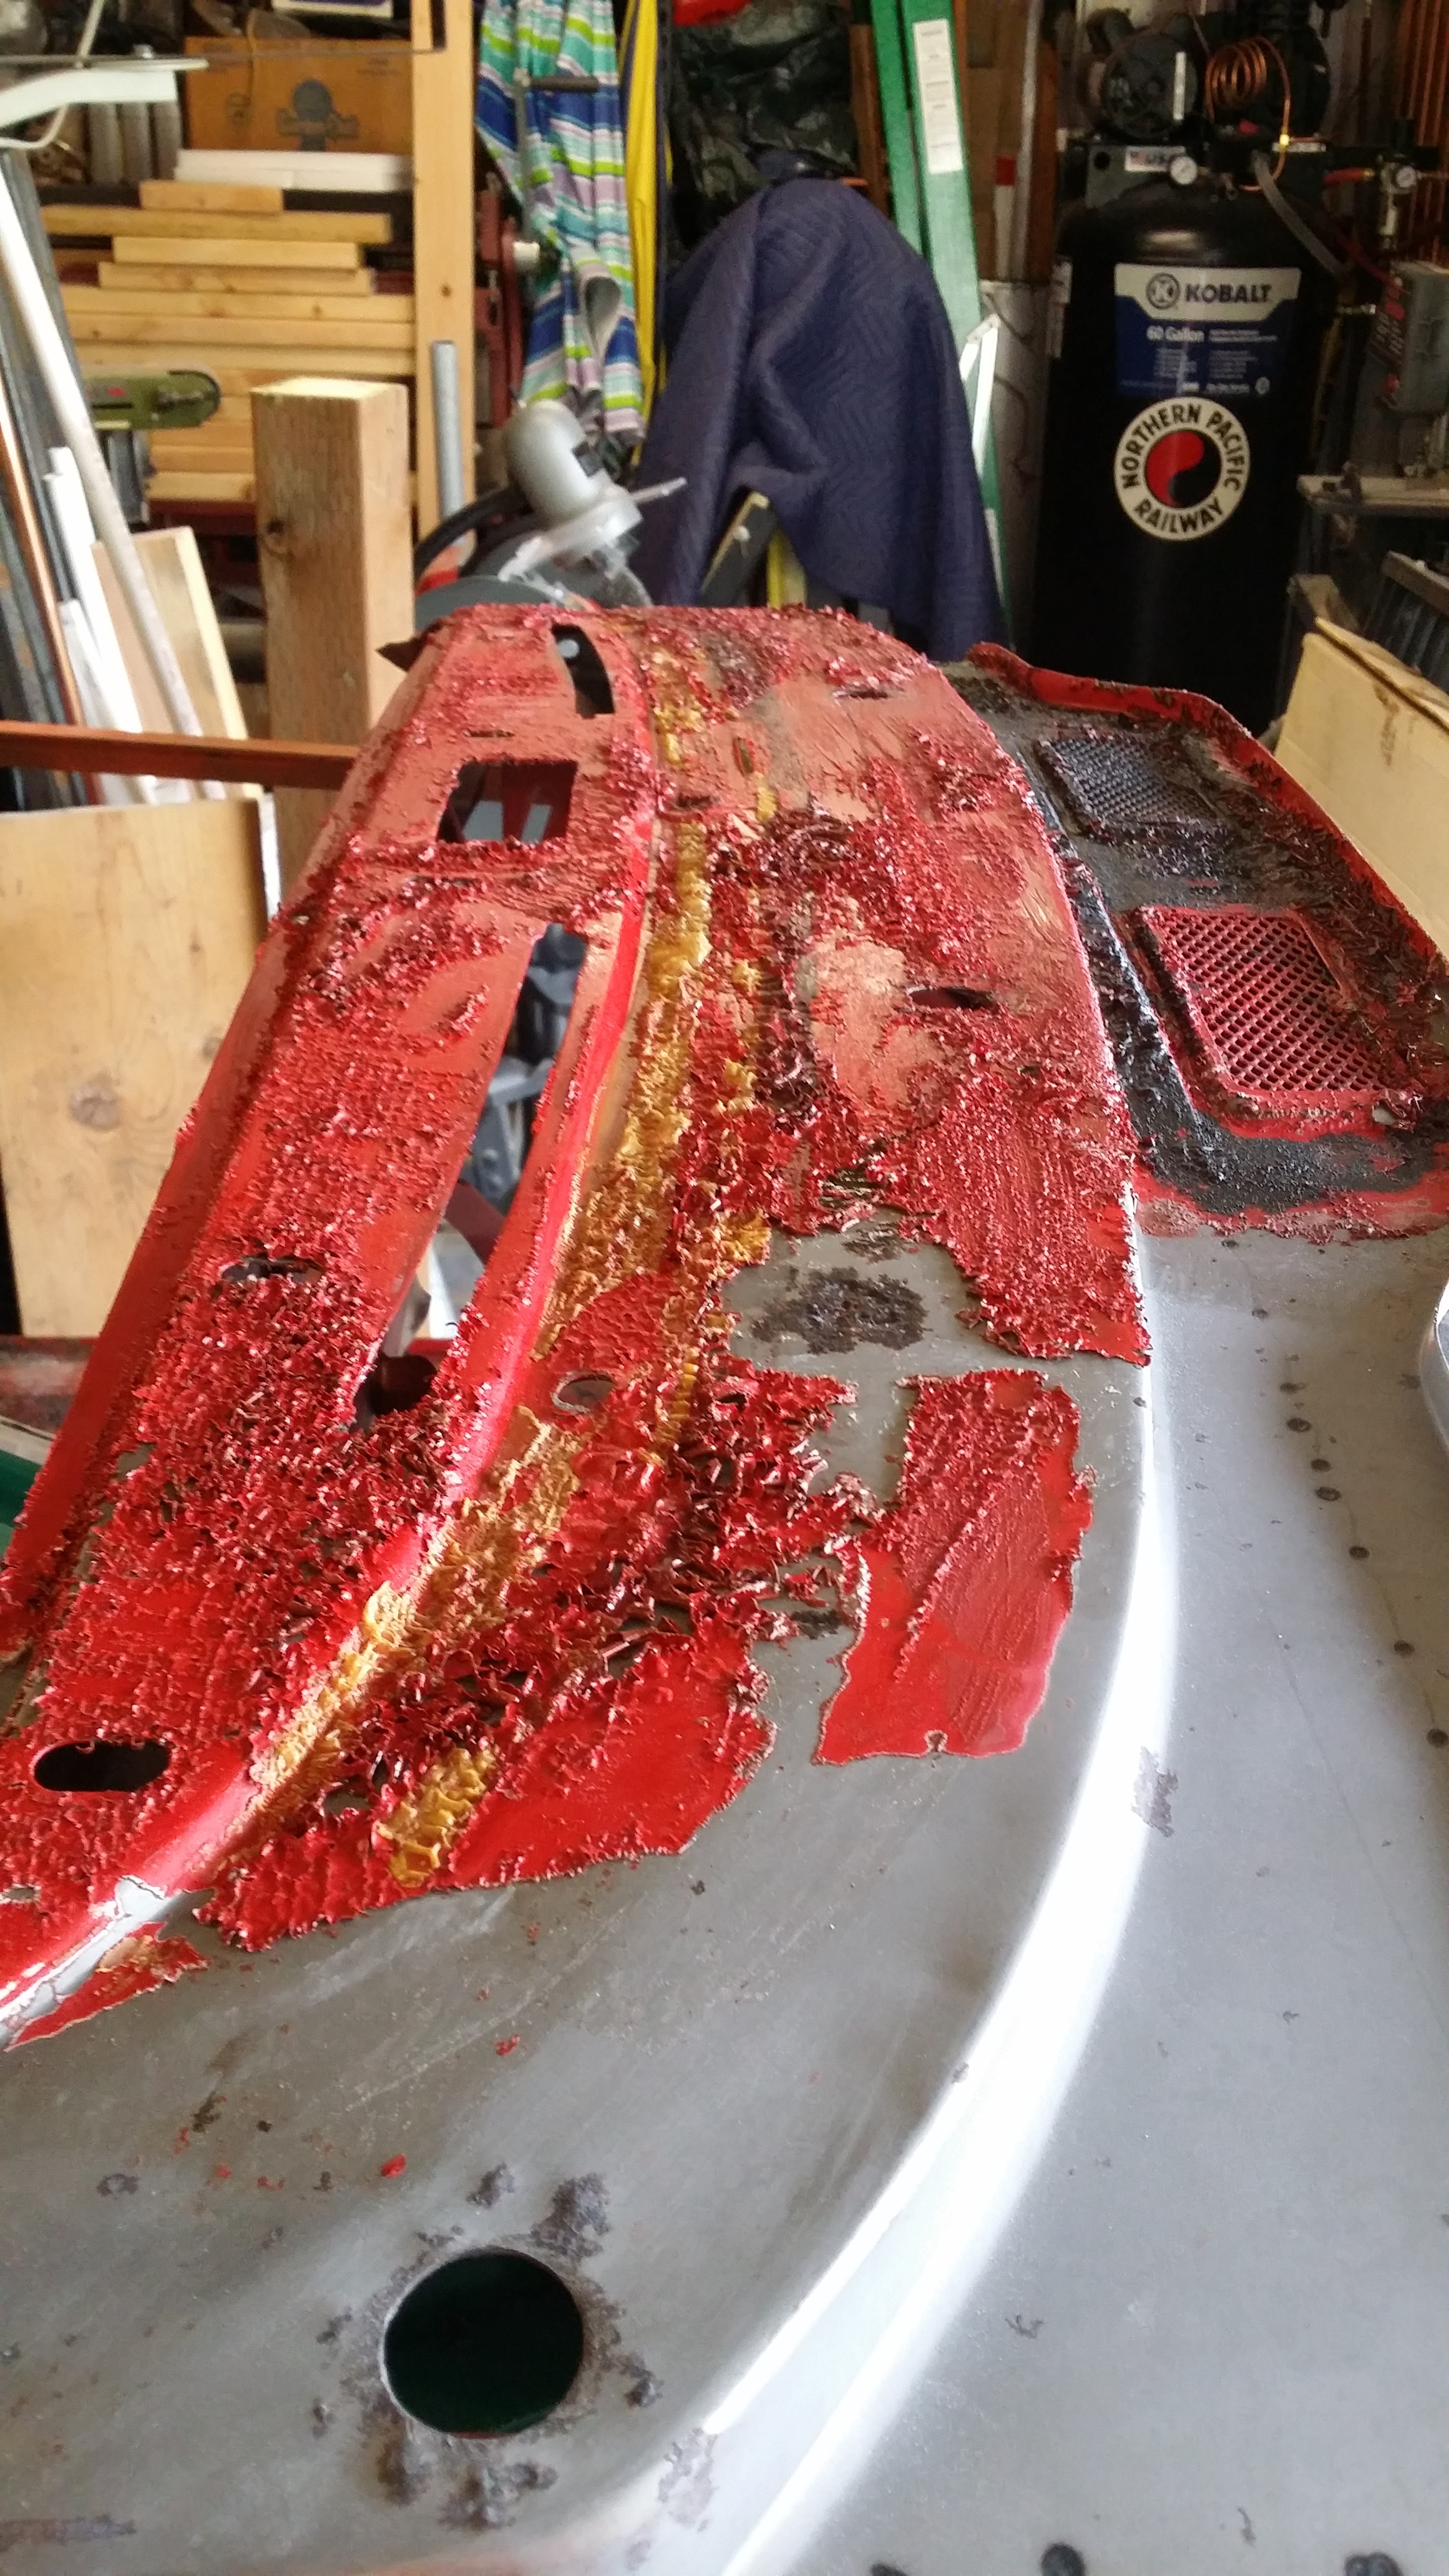 Soda Blasting the Body Tub 6-15-15 The body tub had been covered in an underbody protective coating meant to prevent rust and help waterproof the mettal around the firewall where water easily splashes onto it. 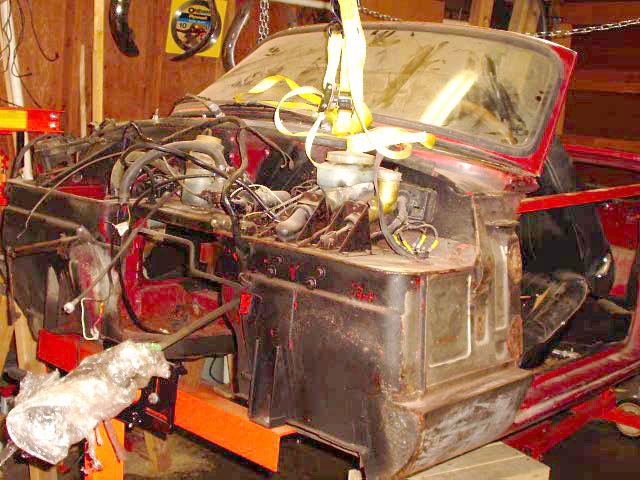 All that black has to be removed to get to the paint and the metal below. It took nearly a day to fully disassemble all the parts and hardware from the firewall. 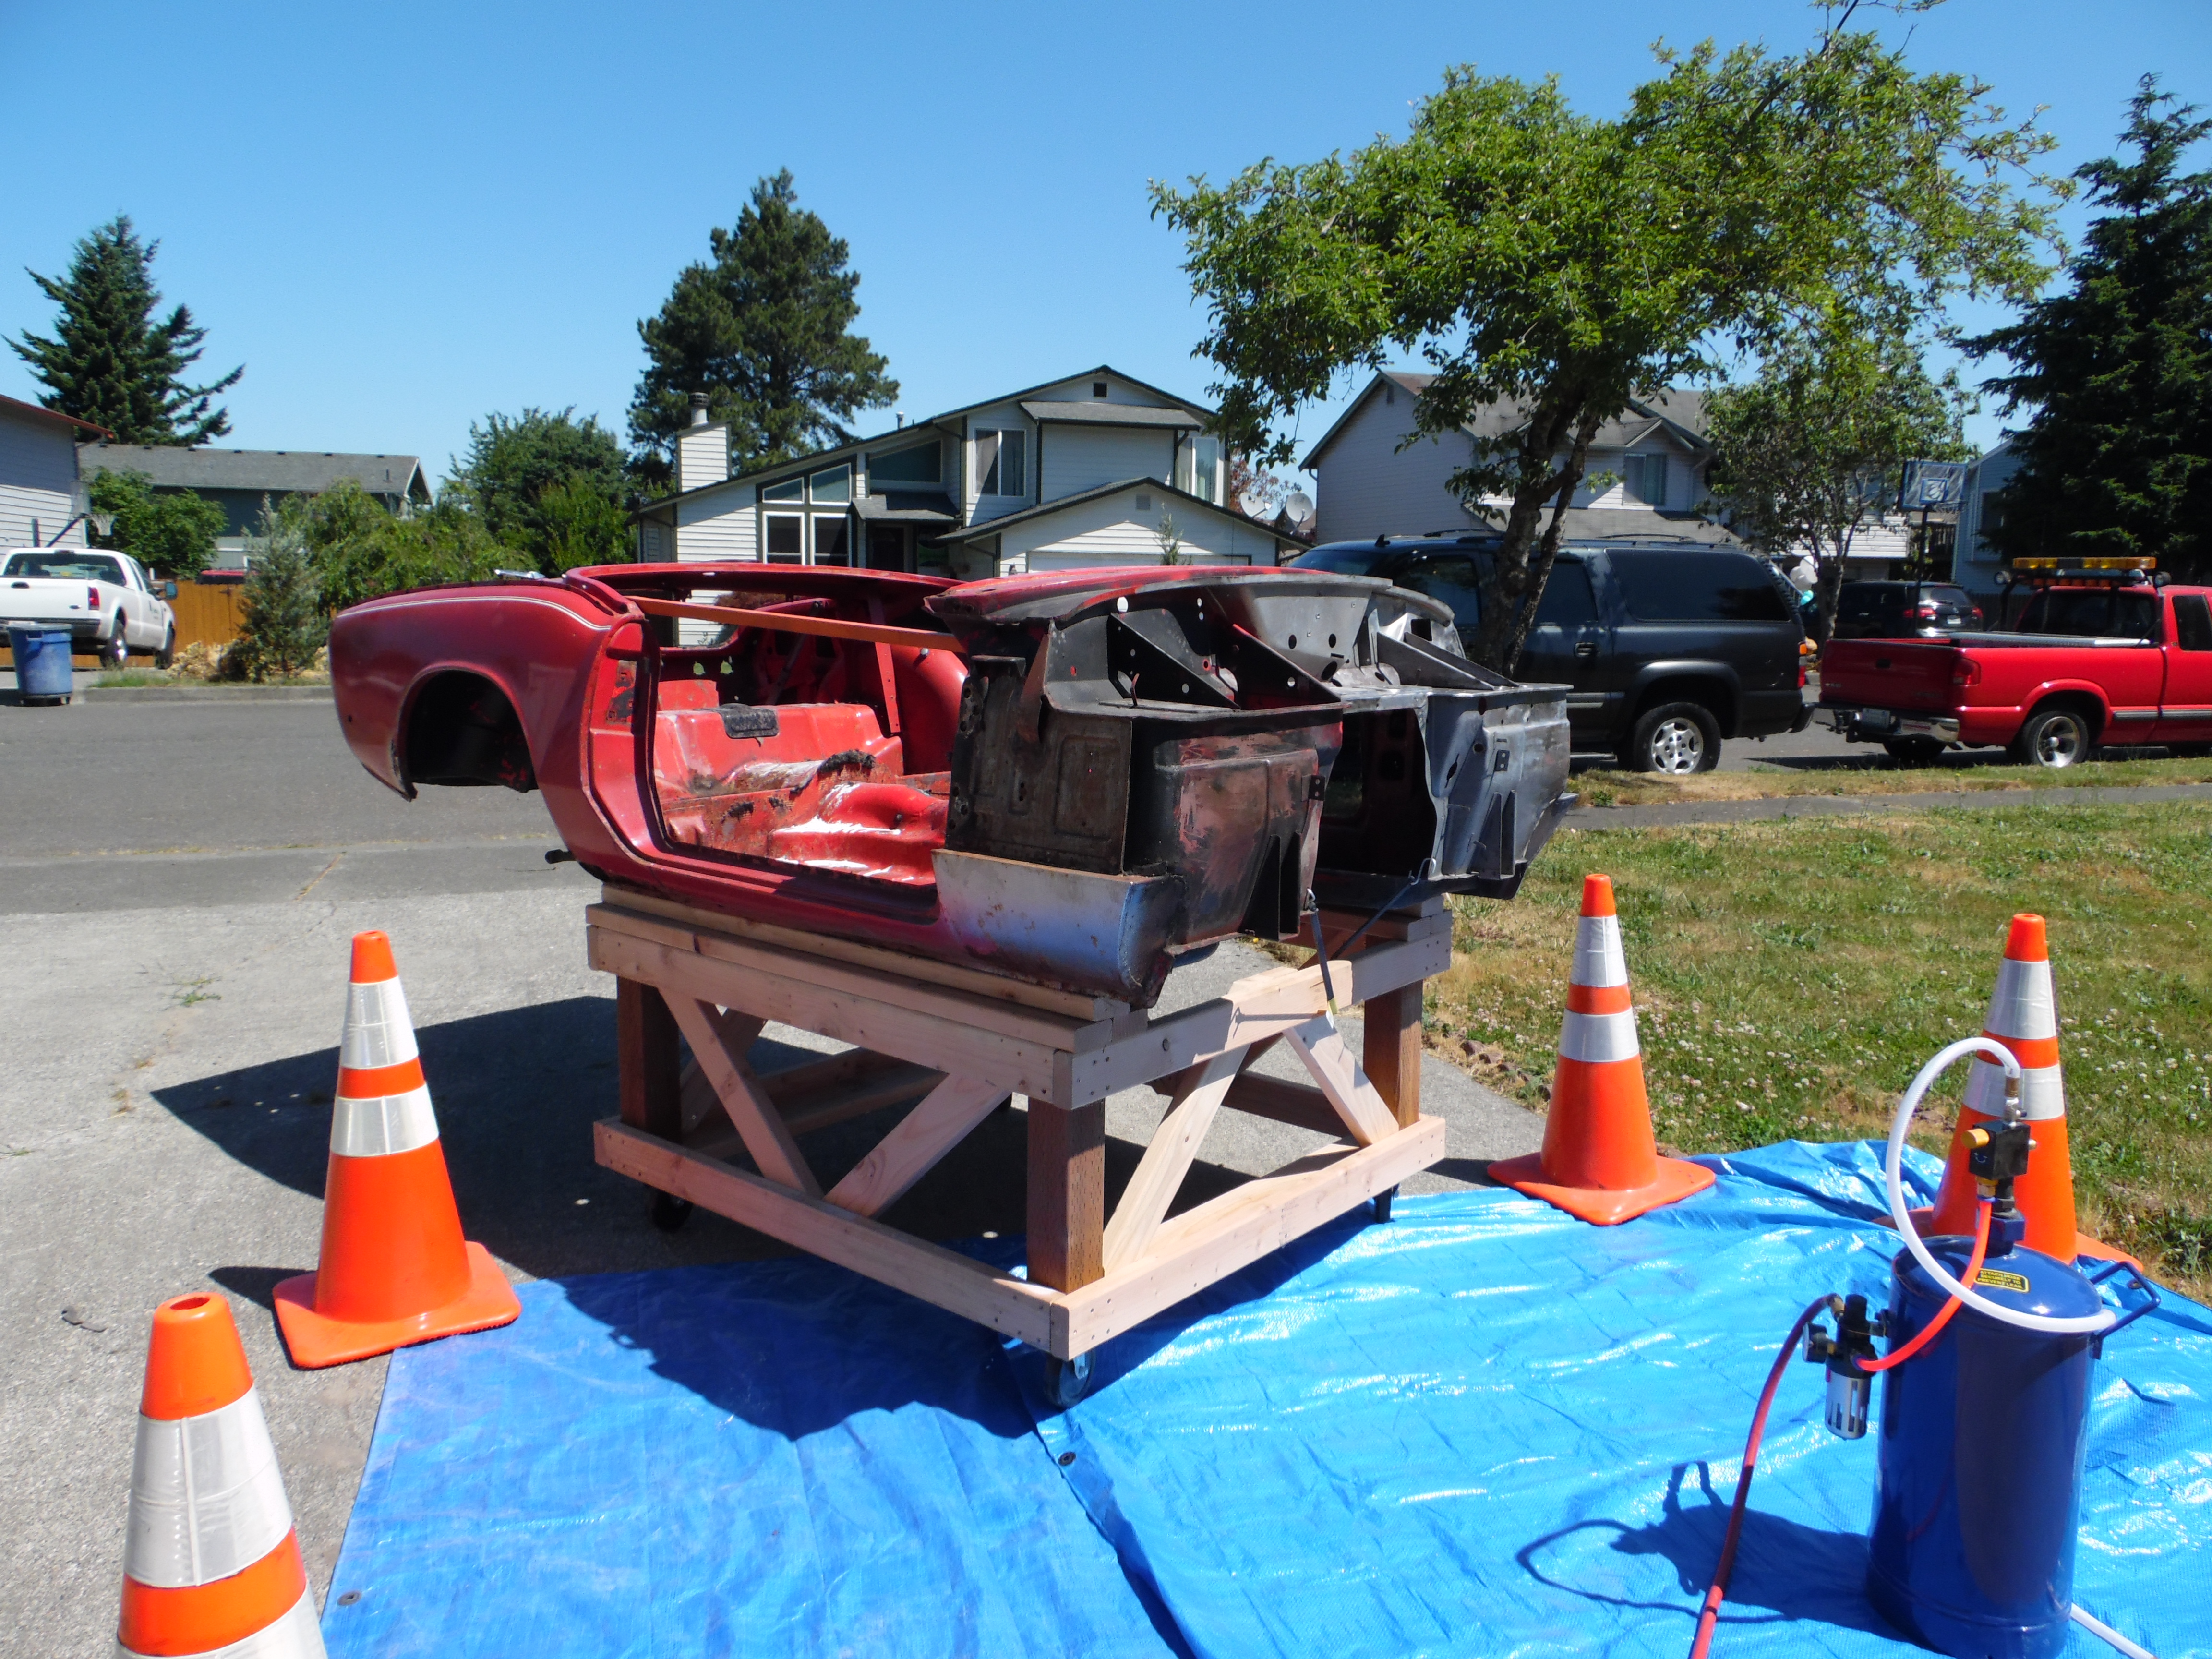 Soda blasting can make a mess. Set up tarps, then set up even more tarps than that. Why? Look below. 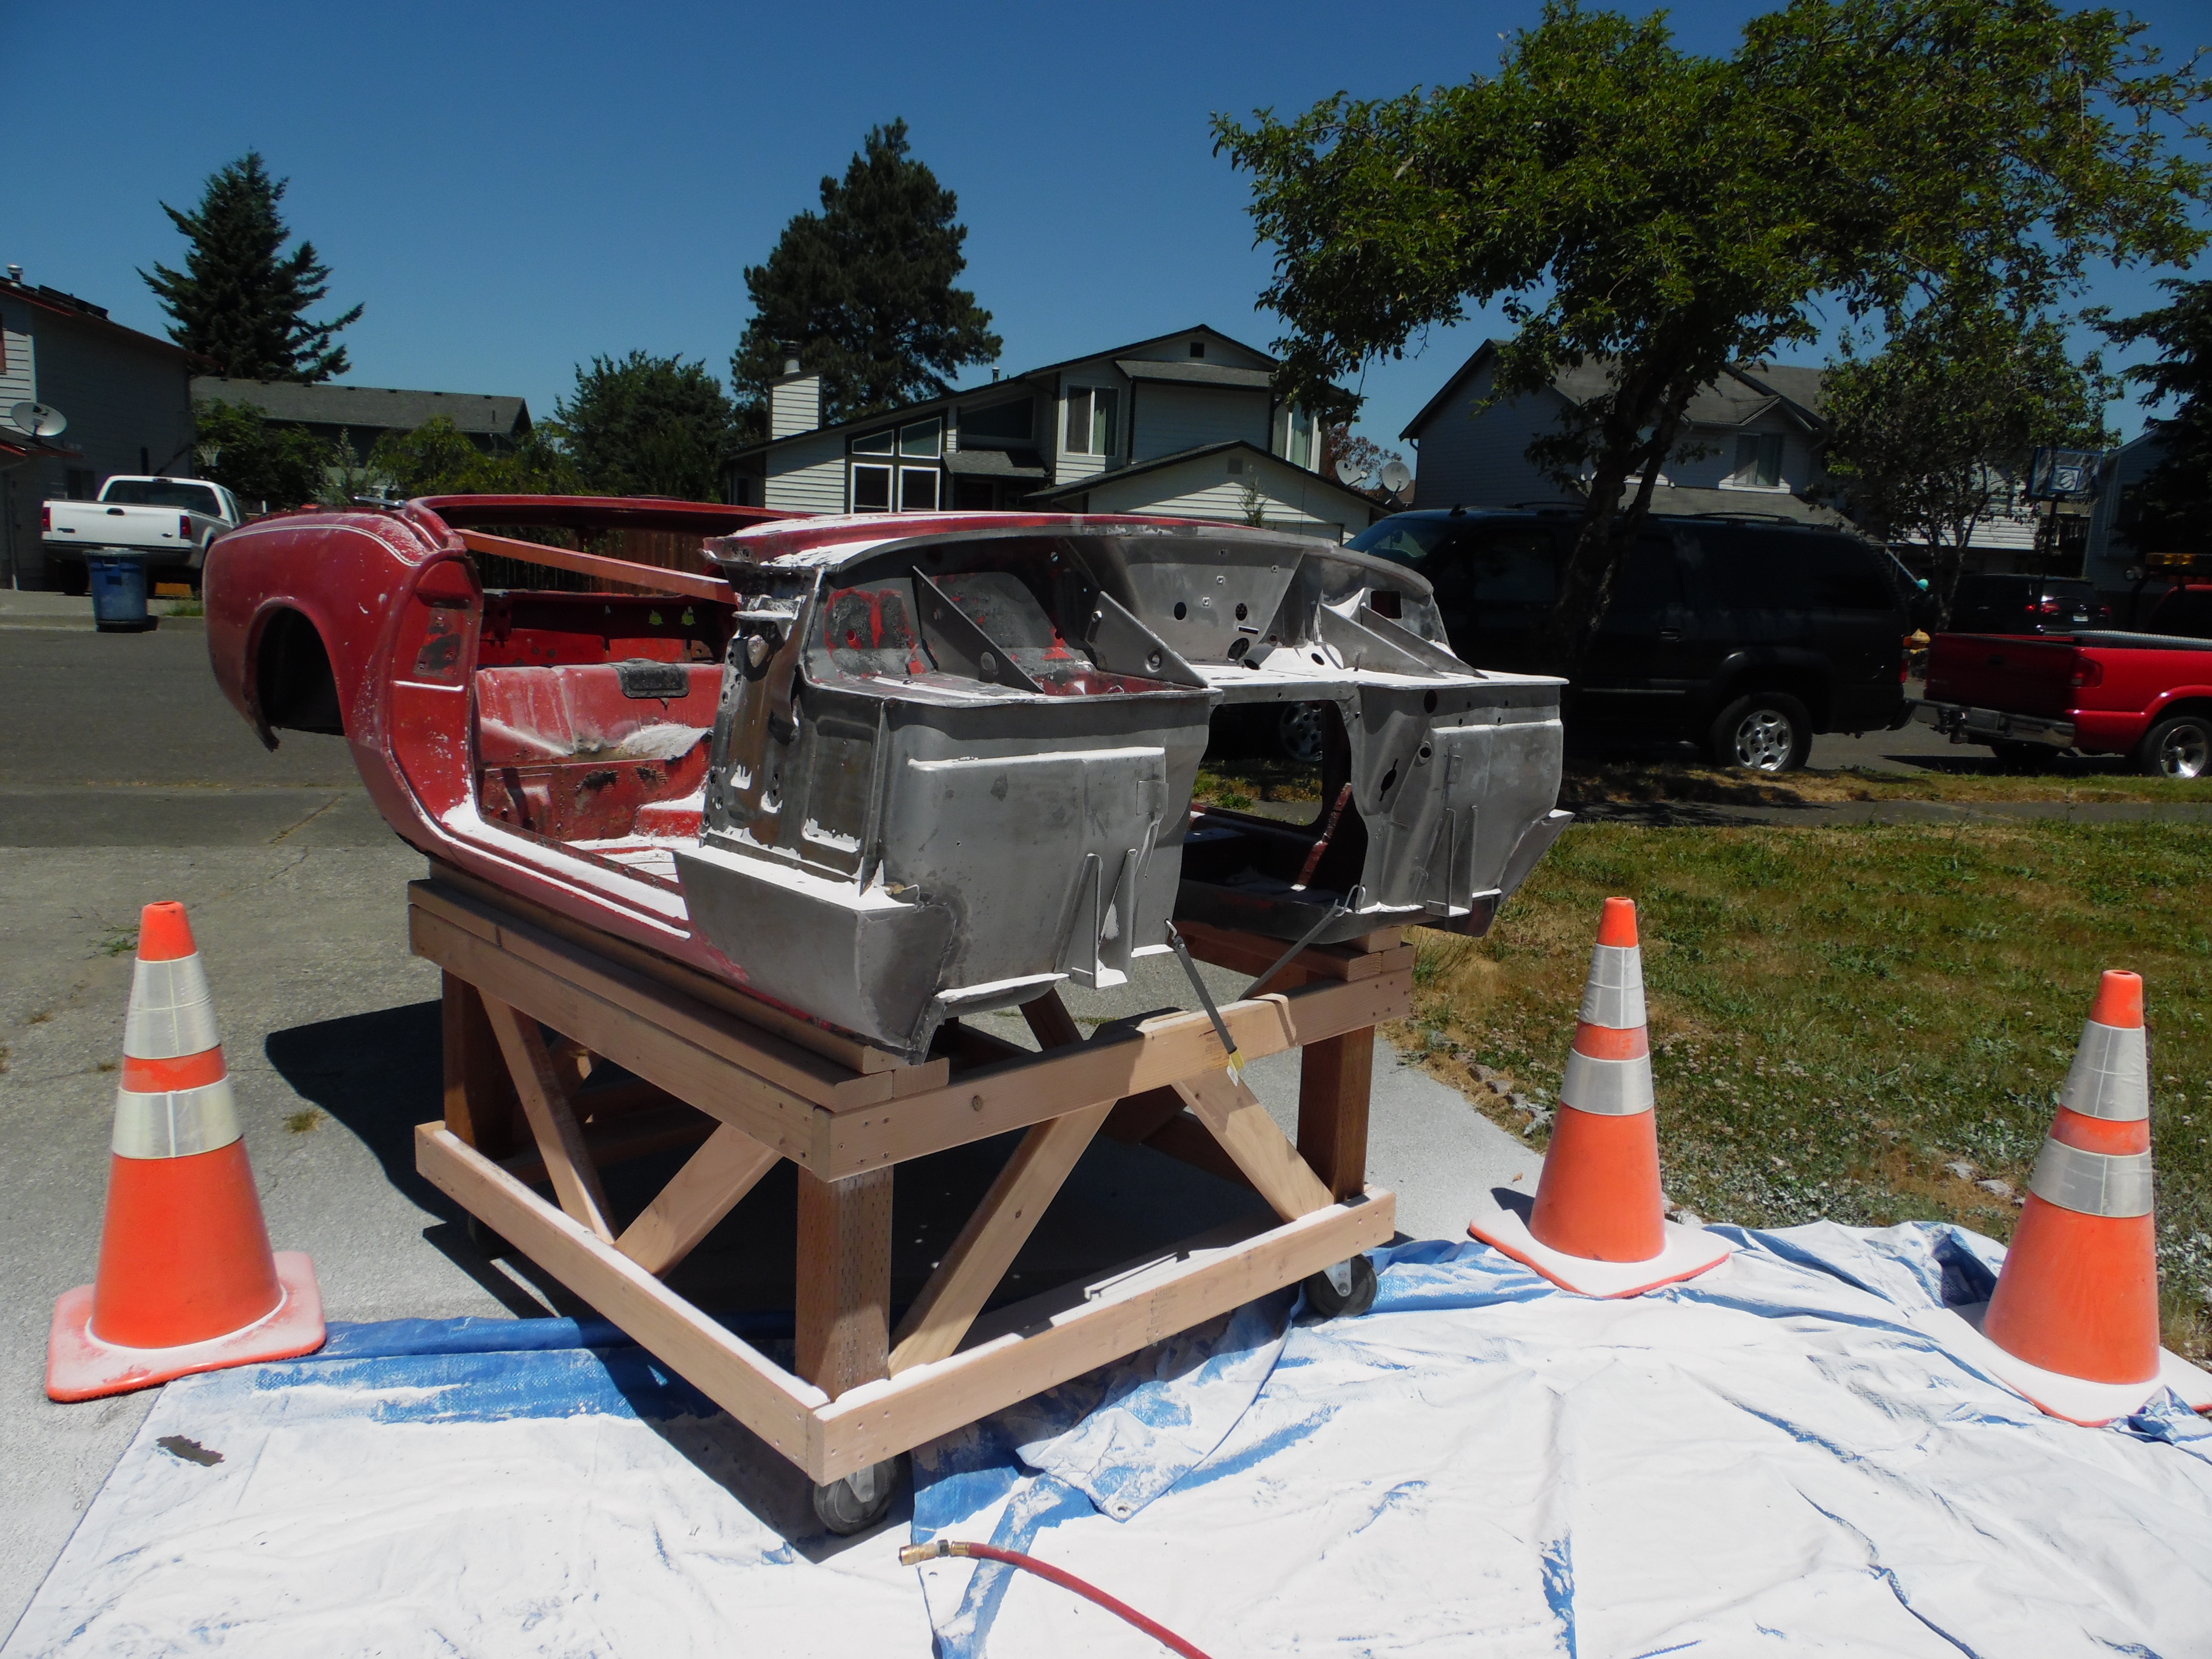 Wear a blasting hood, goggles, and a good respirator. A full painter disposable suit would also be a good idea. Be sure to close off all windows to cars and house nearby as this stuff gets inside easily. It is easily washed off and doesn't harm the environment. 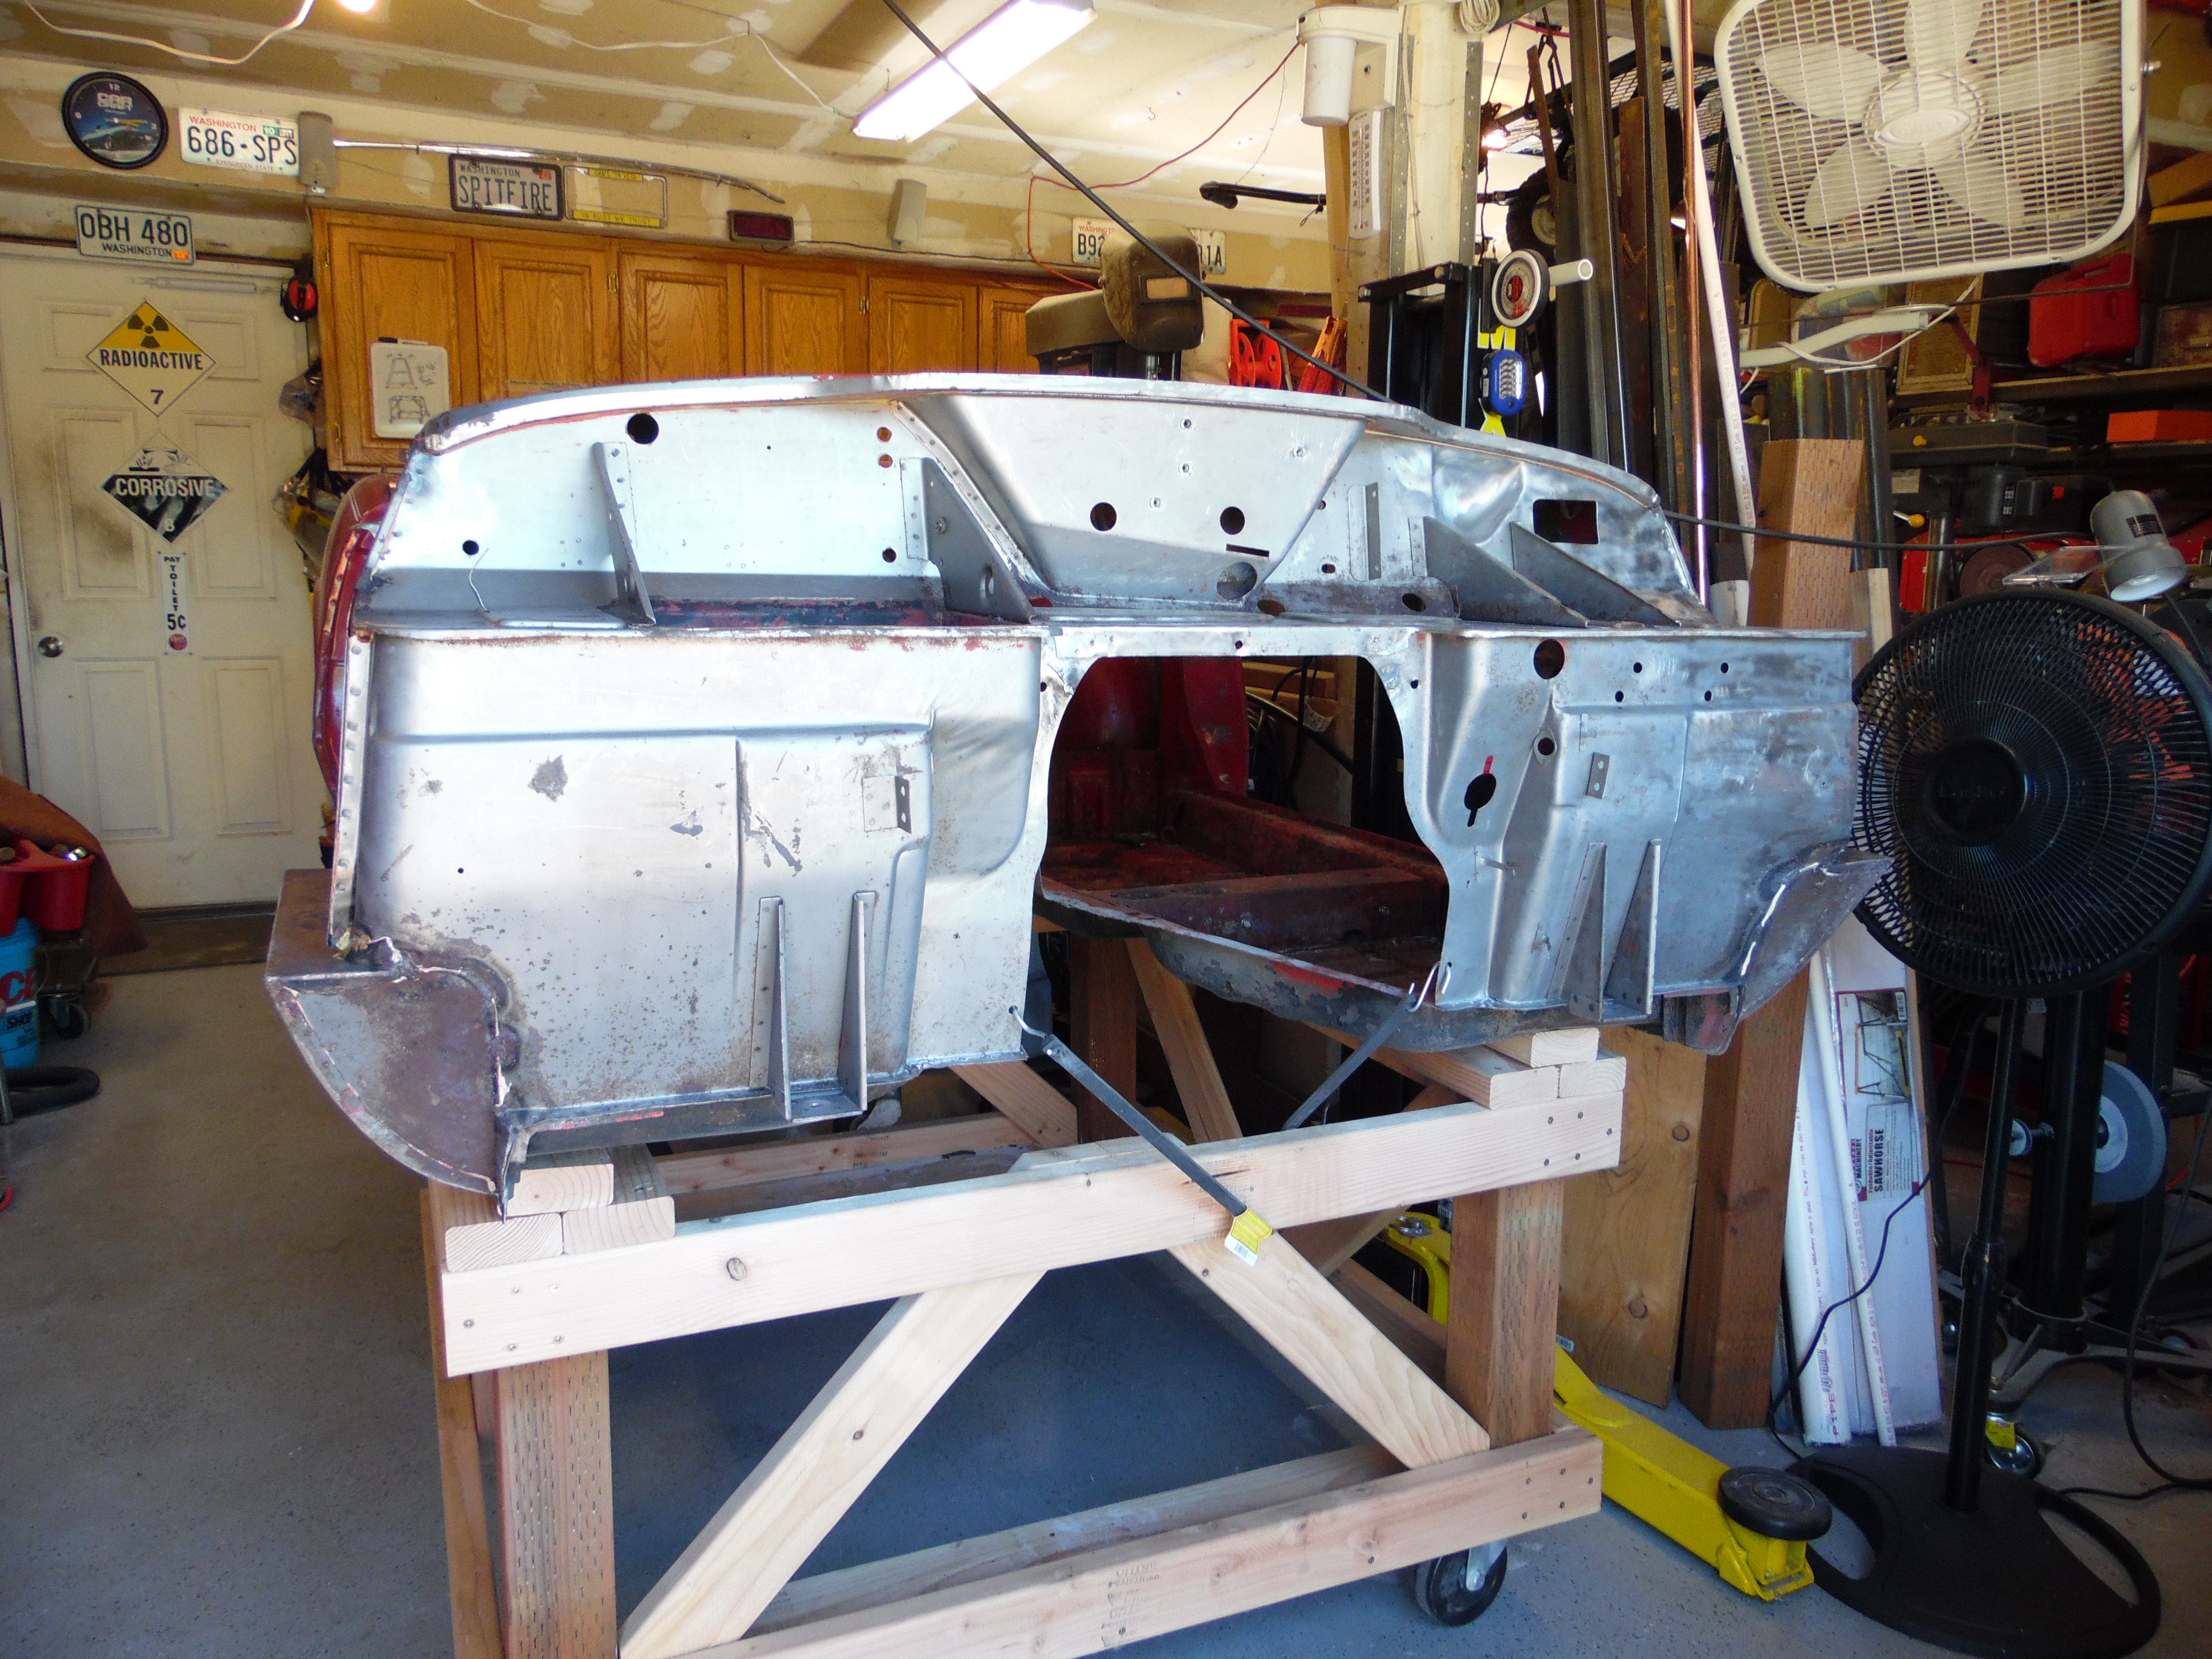 This leaves the metal bare and nearly polished. Soda blasting will NOT remove rust, but it does a good job on paint and other coatings. This surface needs to be washed off before you do any heavy work on it or paint as the soda blasting process does leave a coating on the meta. Thankfully simple water will do the job, air dried and then sprayed with a metal prep spray with zinc to prevent flash rust. This firewall took about four hours and 100 pounds of sodium bicarbonate. It's the only way to get into the nooks and crannies around all those brackets and mounts. Wire brushes, sand paper, and chemical strippers just won't get in there properly. I only wish the rest of the body tub looked this good. So much more to do! |
|